Configuration
Settings that affect your entire site can be changed in Jekyll’s configuration file: _config.yml, found in the root of your project. If you don’t have this file you’ll need to copy or create one using the theme’s default _config.yml as a base.
Note: for technical reasons, _config.yml is NOT reloaded automatically when used with jekyll serve. If you make any changes to this file, please restart the server process for them to be applied.
Take a moment to look over the configuration file included with the theme. Comments have been added to provide examples and default values for most settings. Detailed explanations of each can be found below.
Site Settings
Theme
If you’re using the Ruby gem version of the theme you’ll need this line to activate it:
theme: minimal-mistakes-jekyll
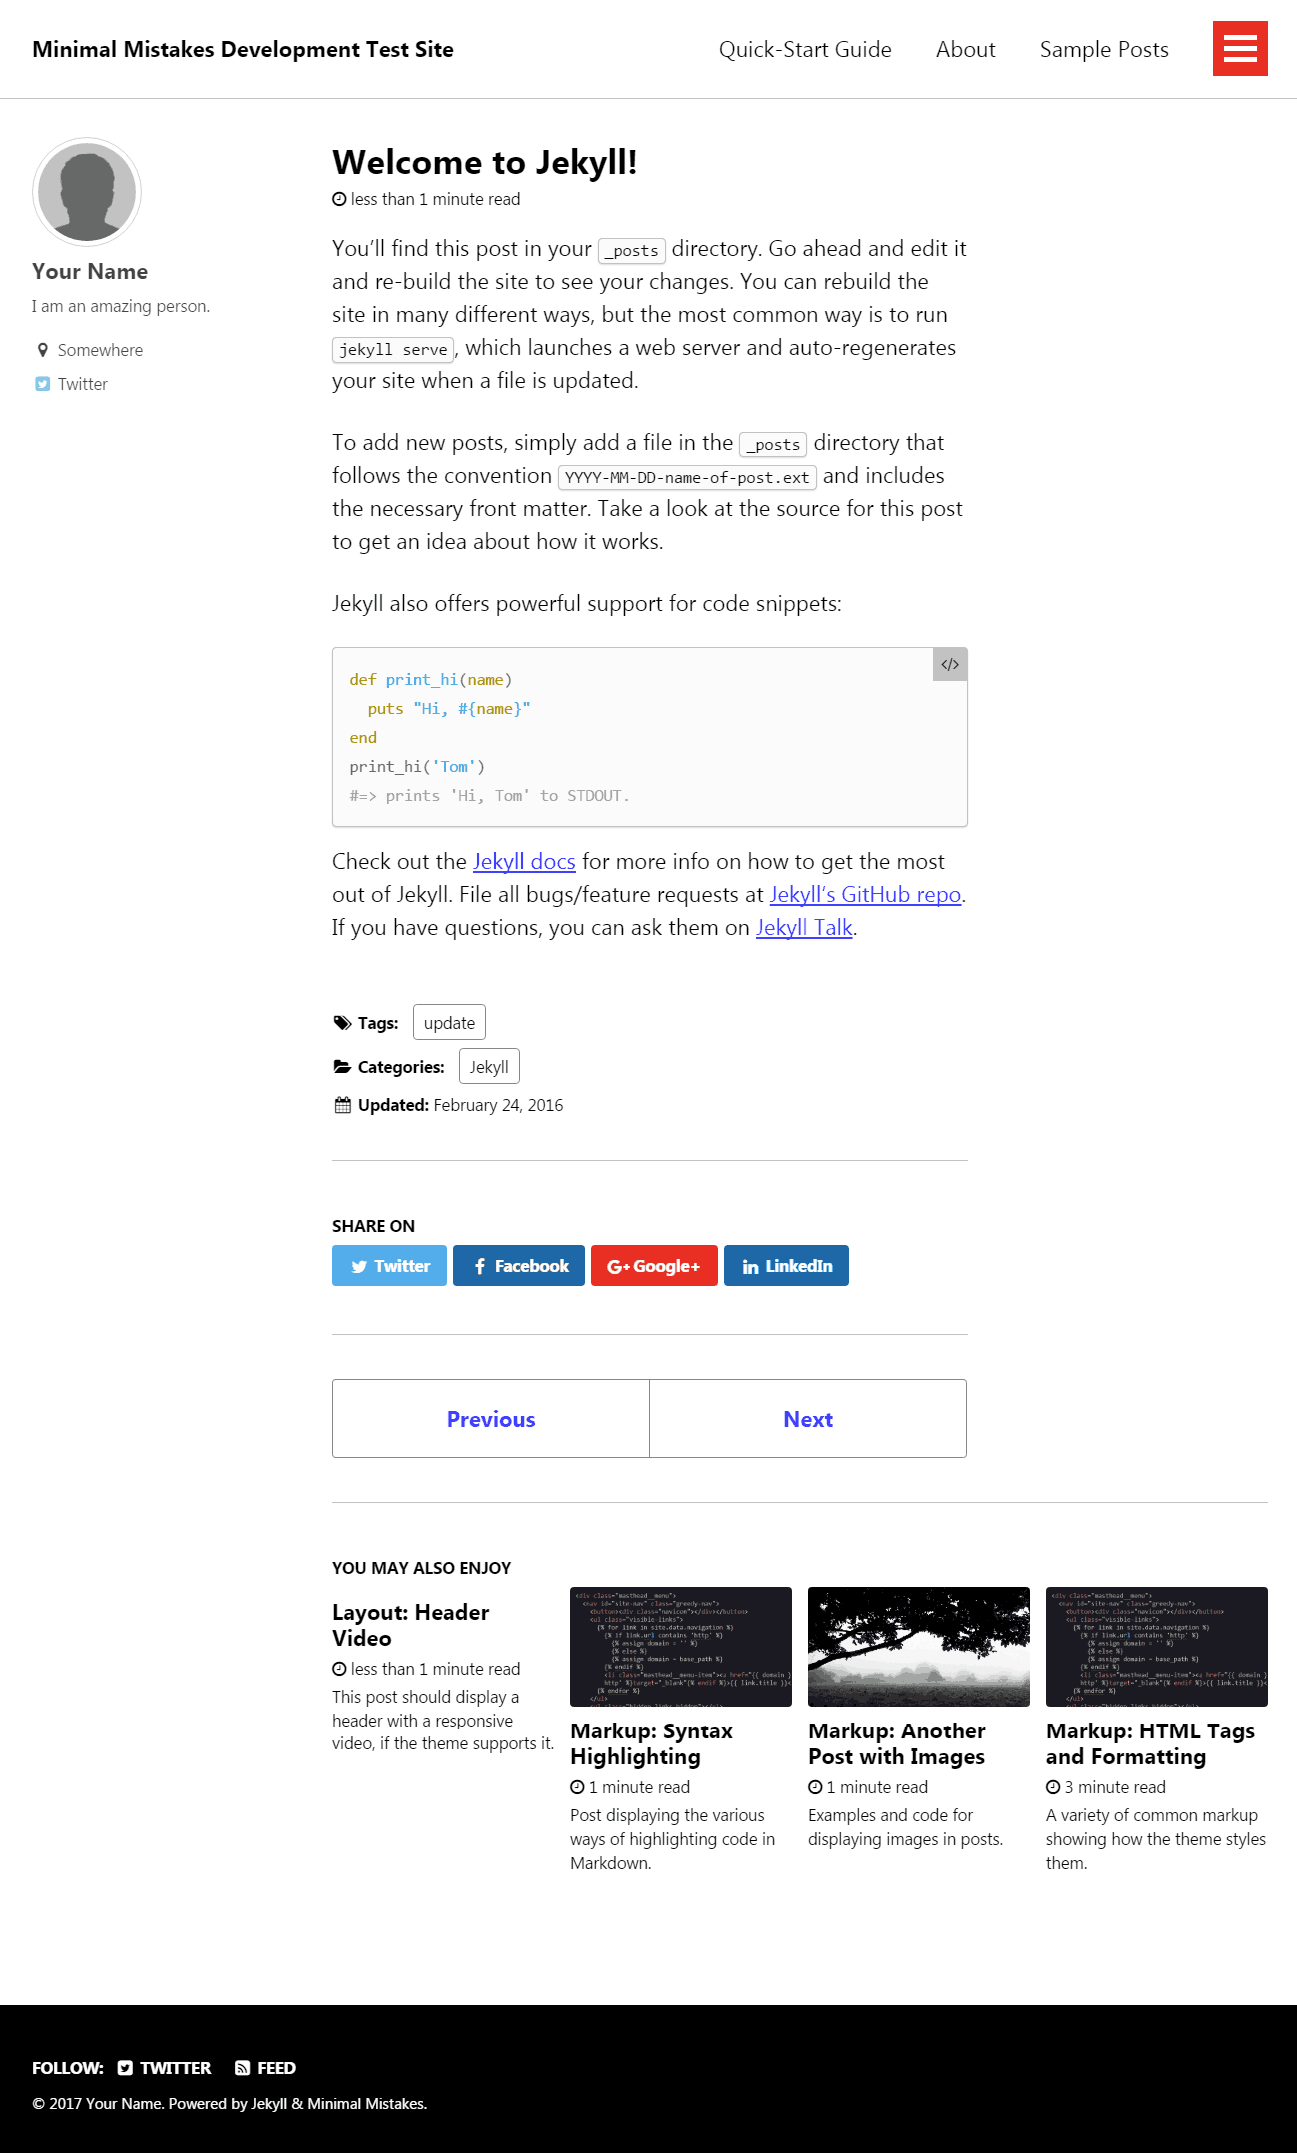
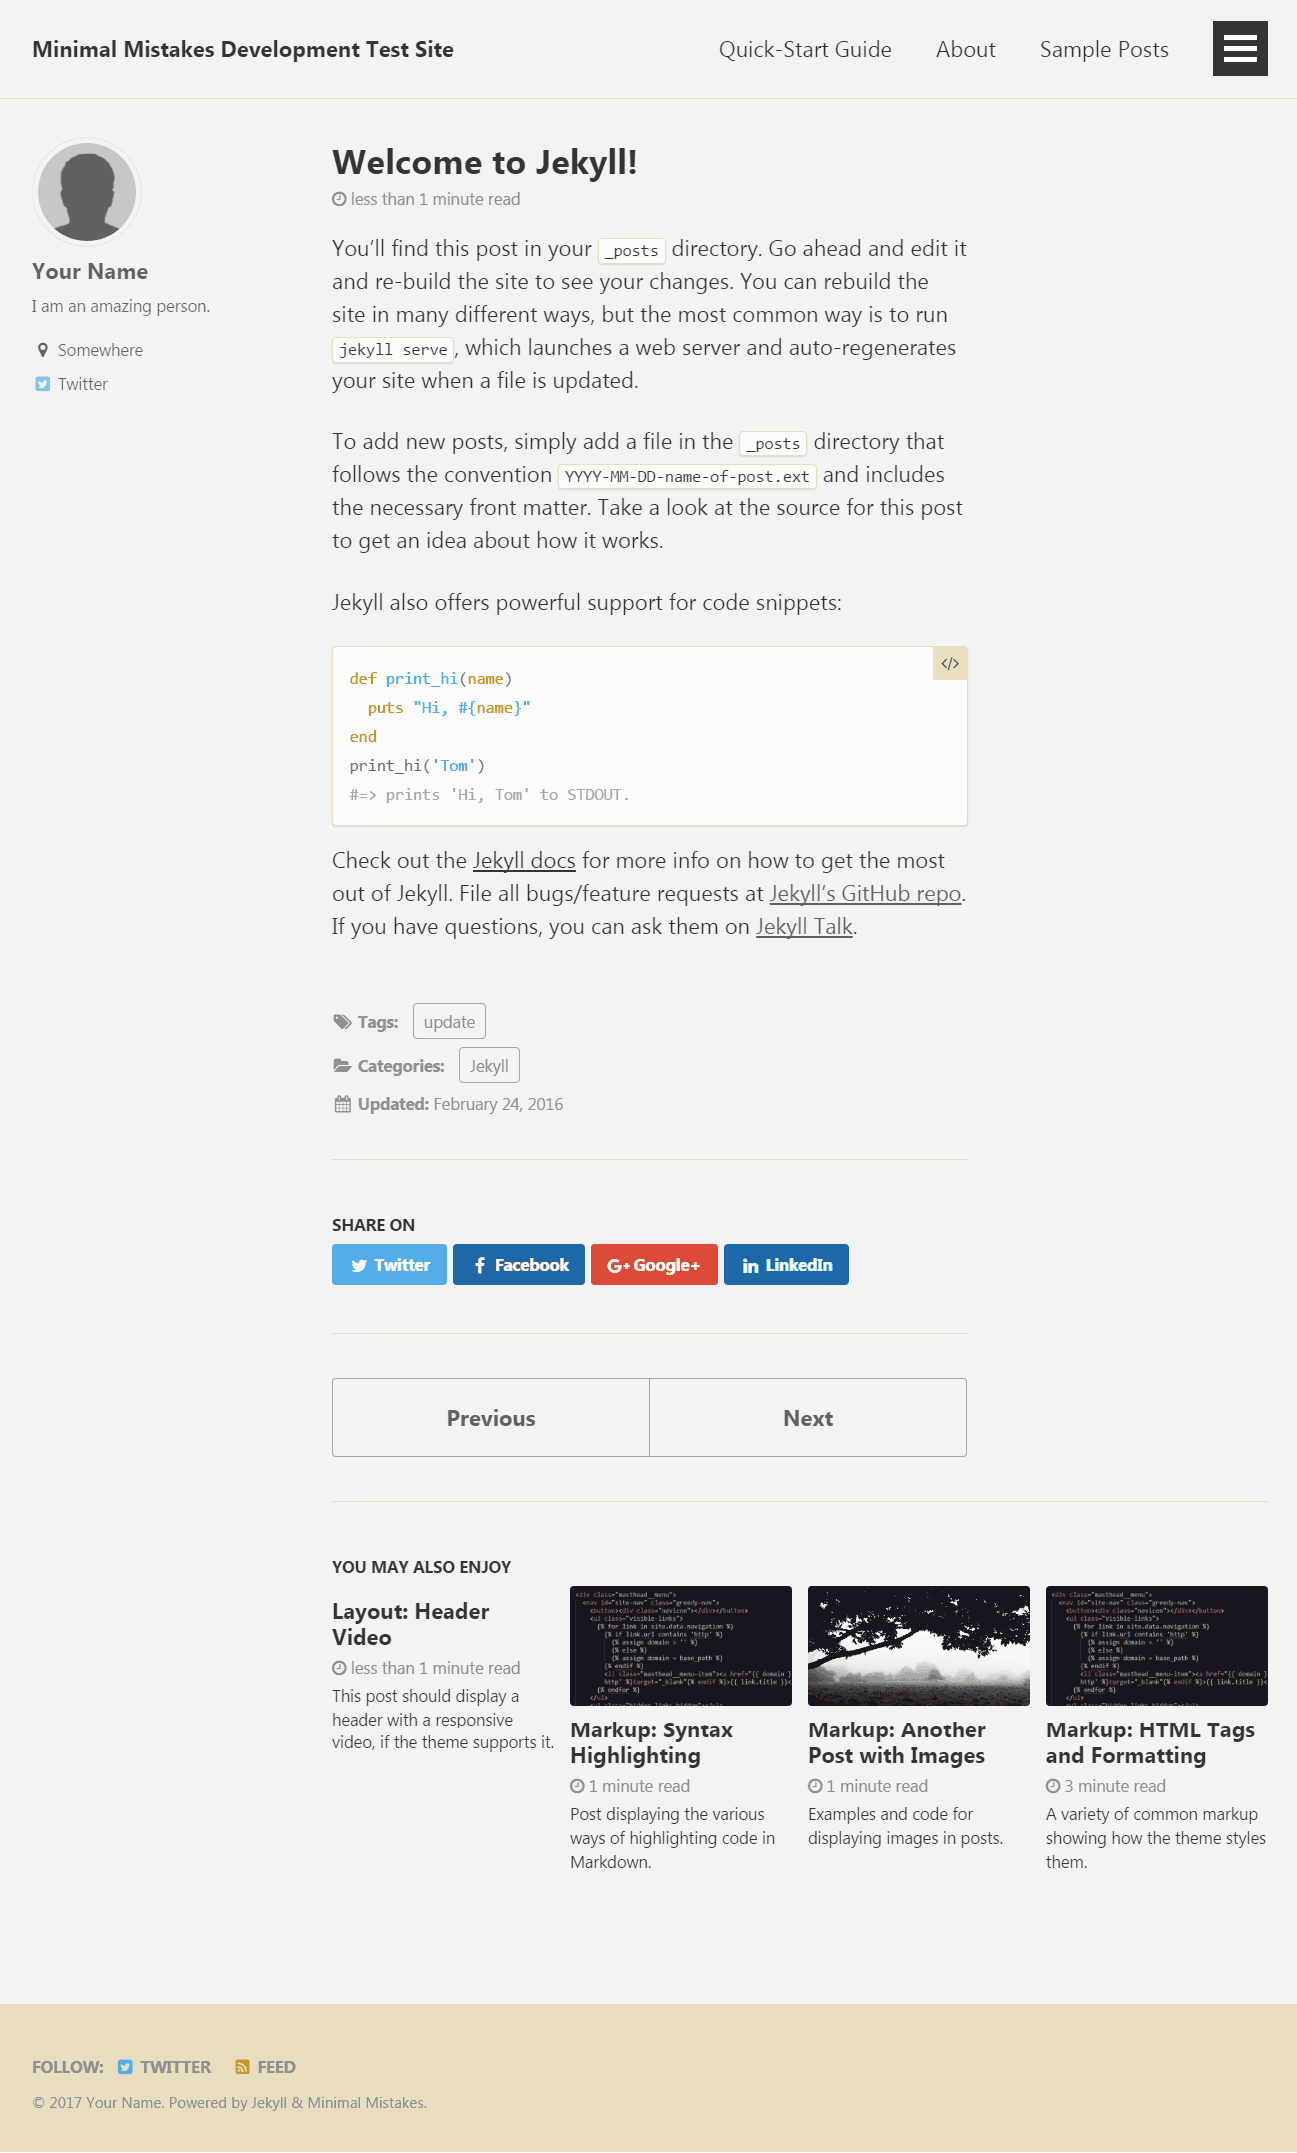
Skin
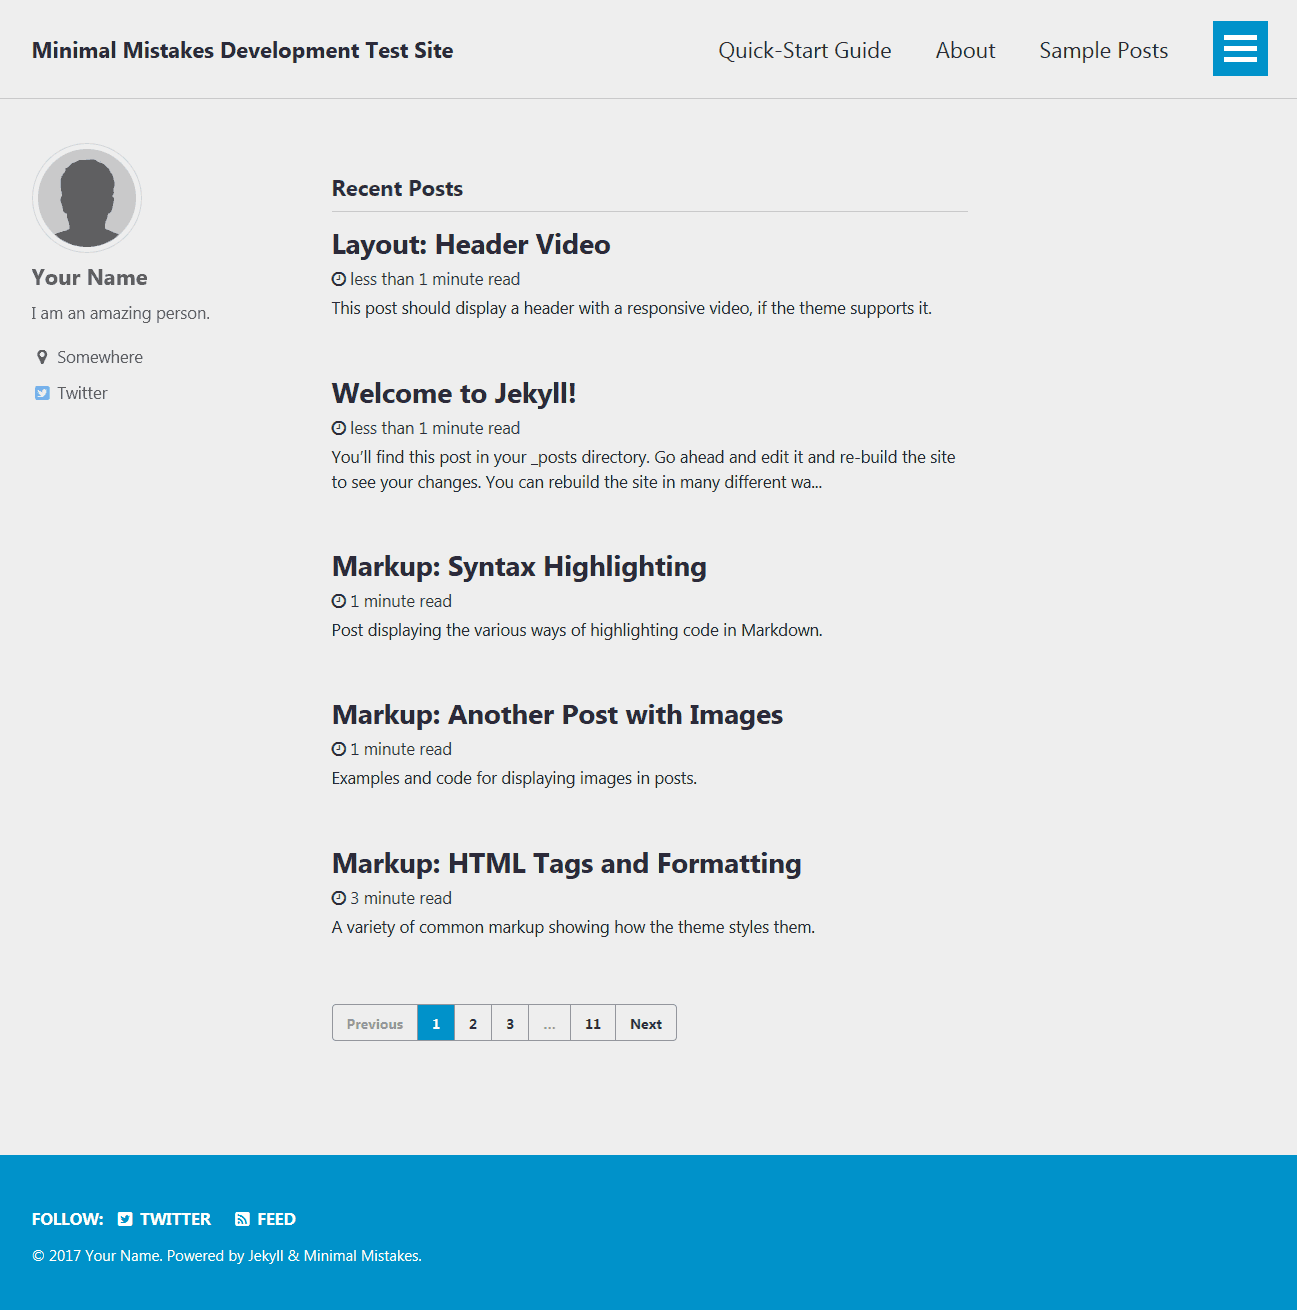
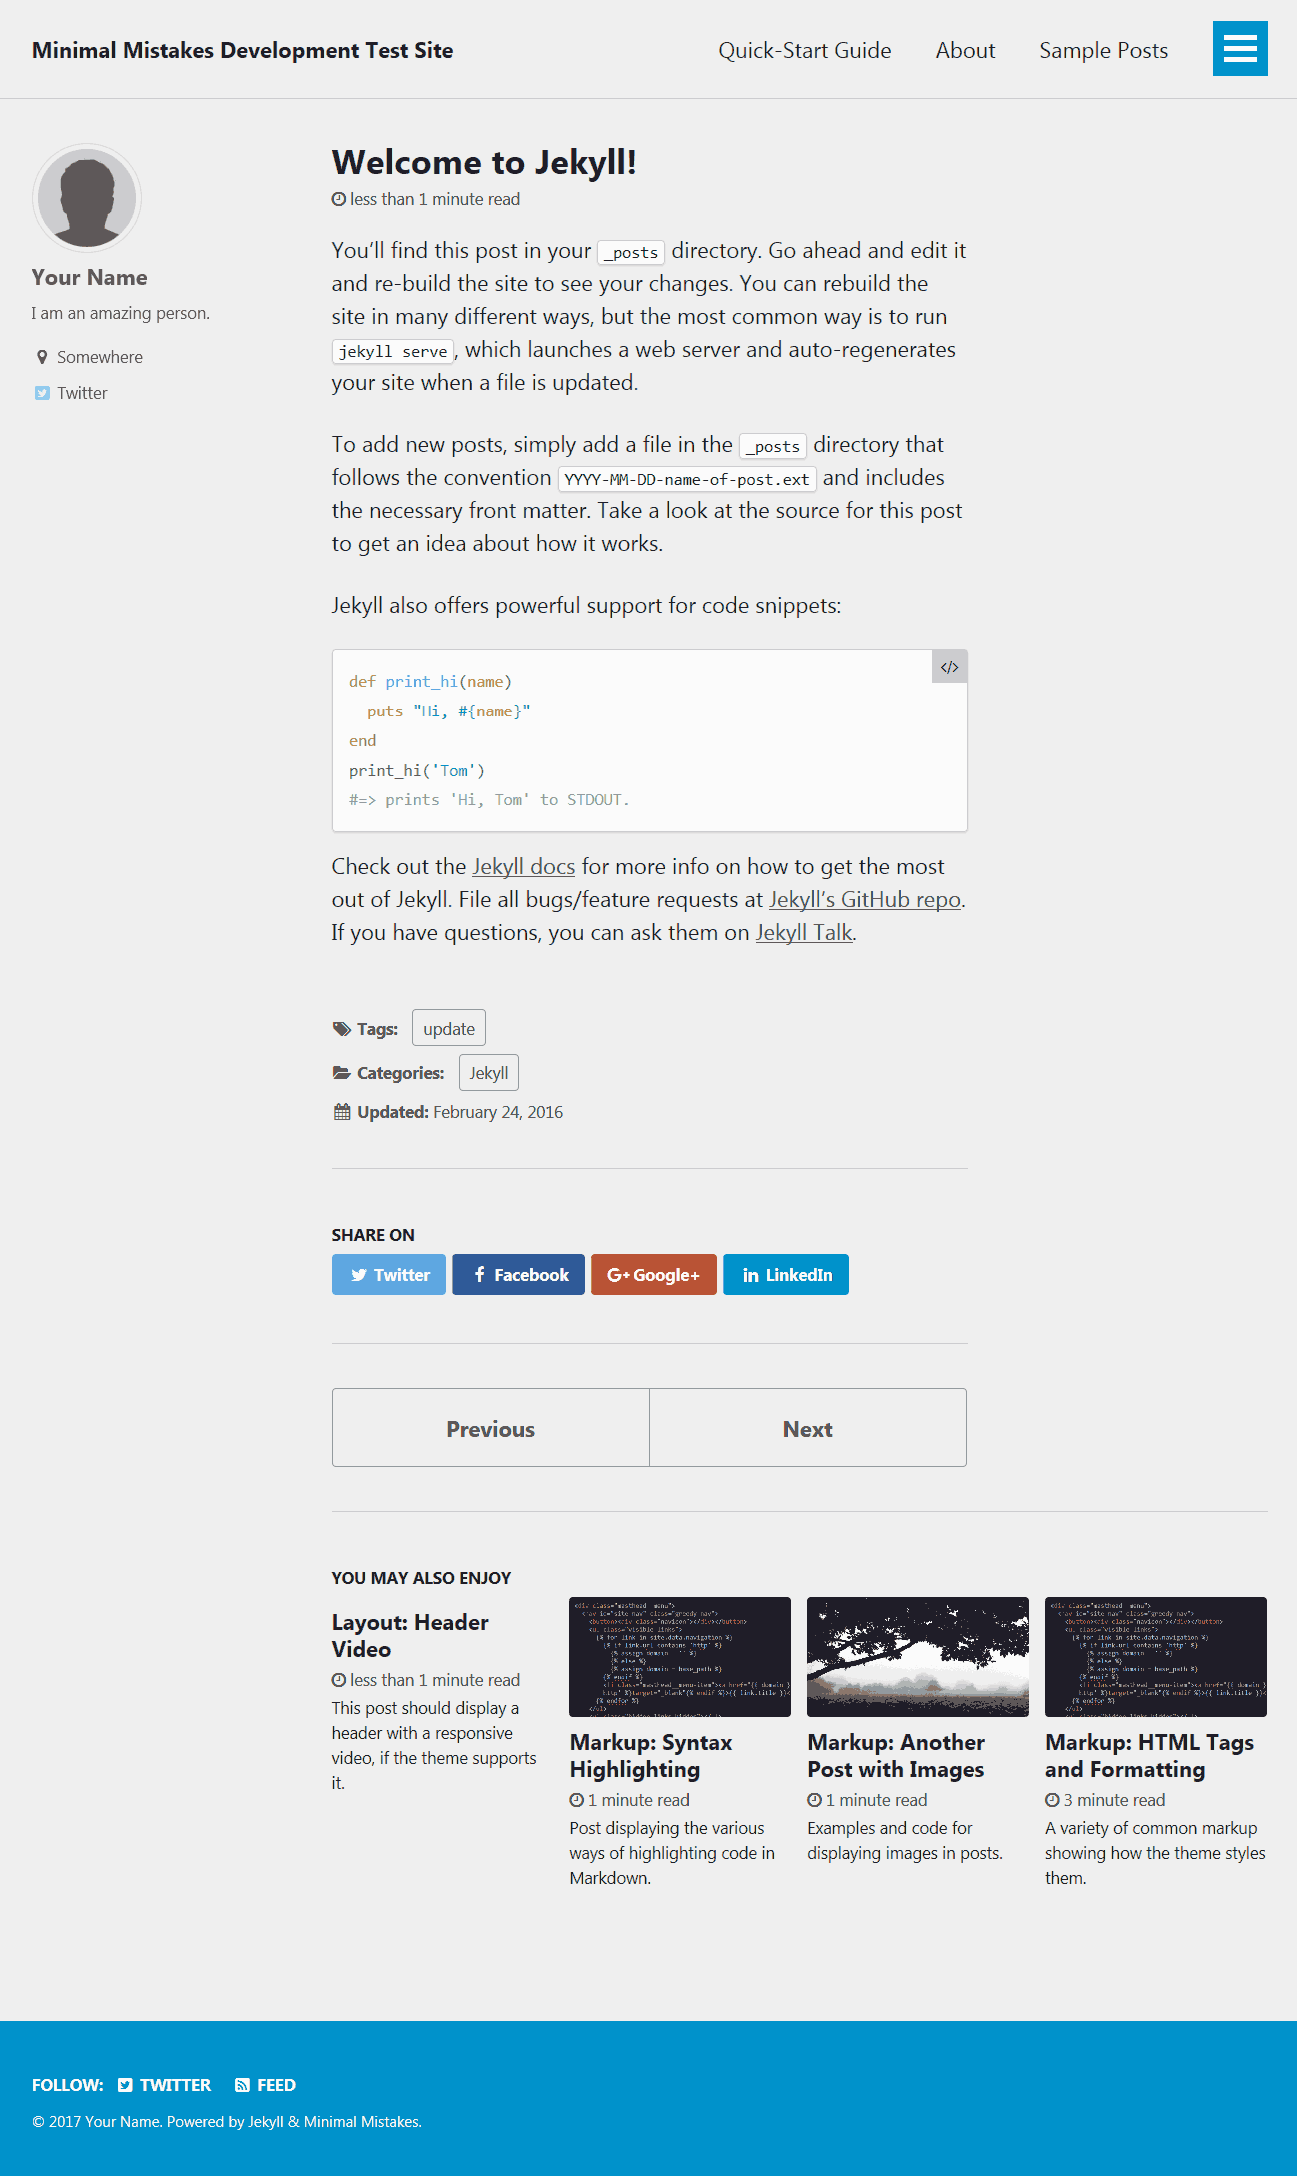
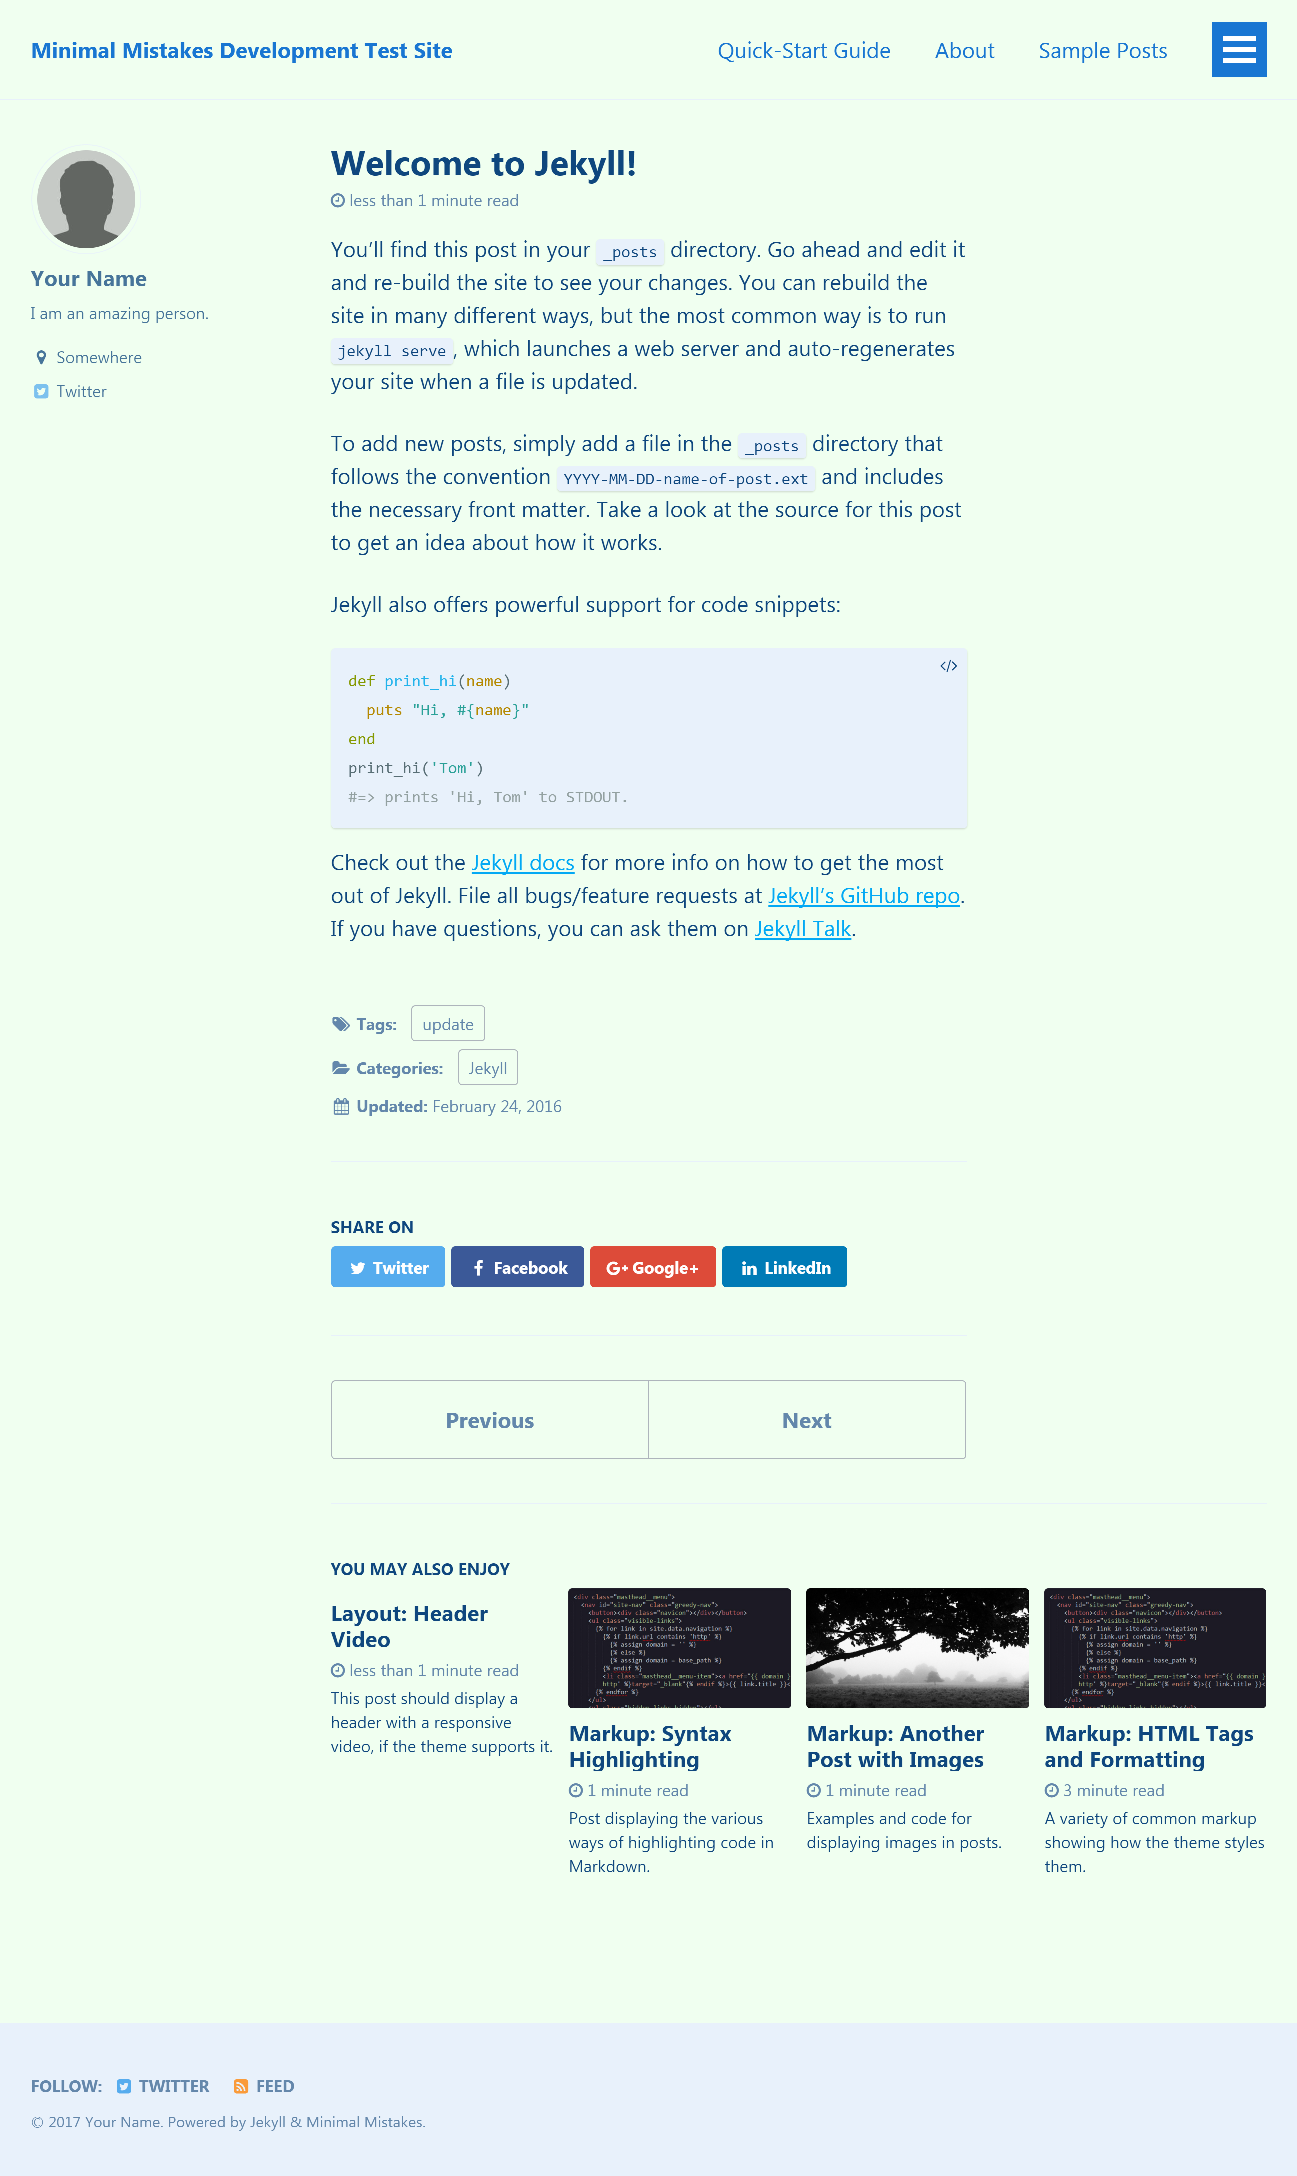
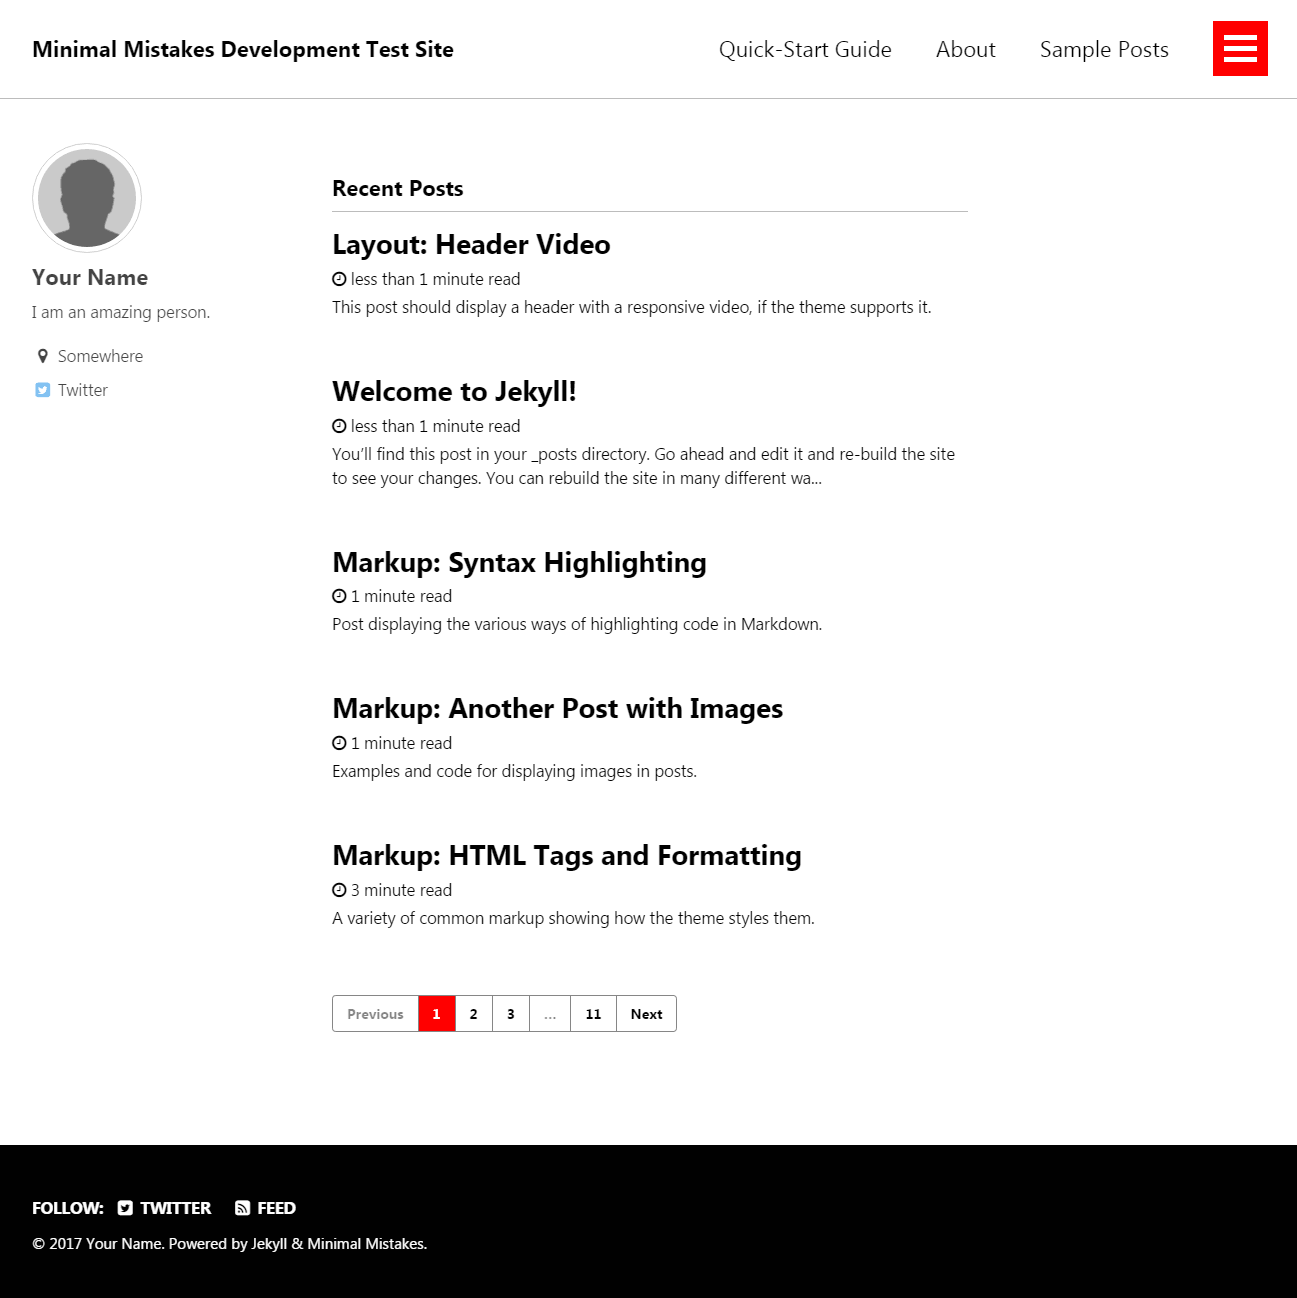
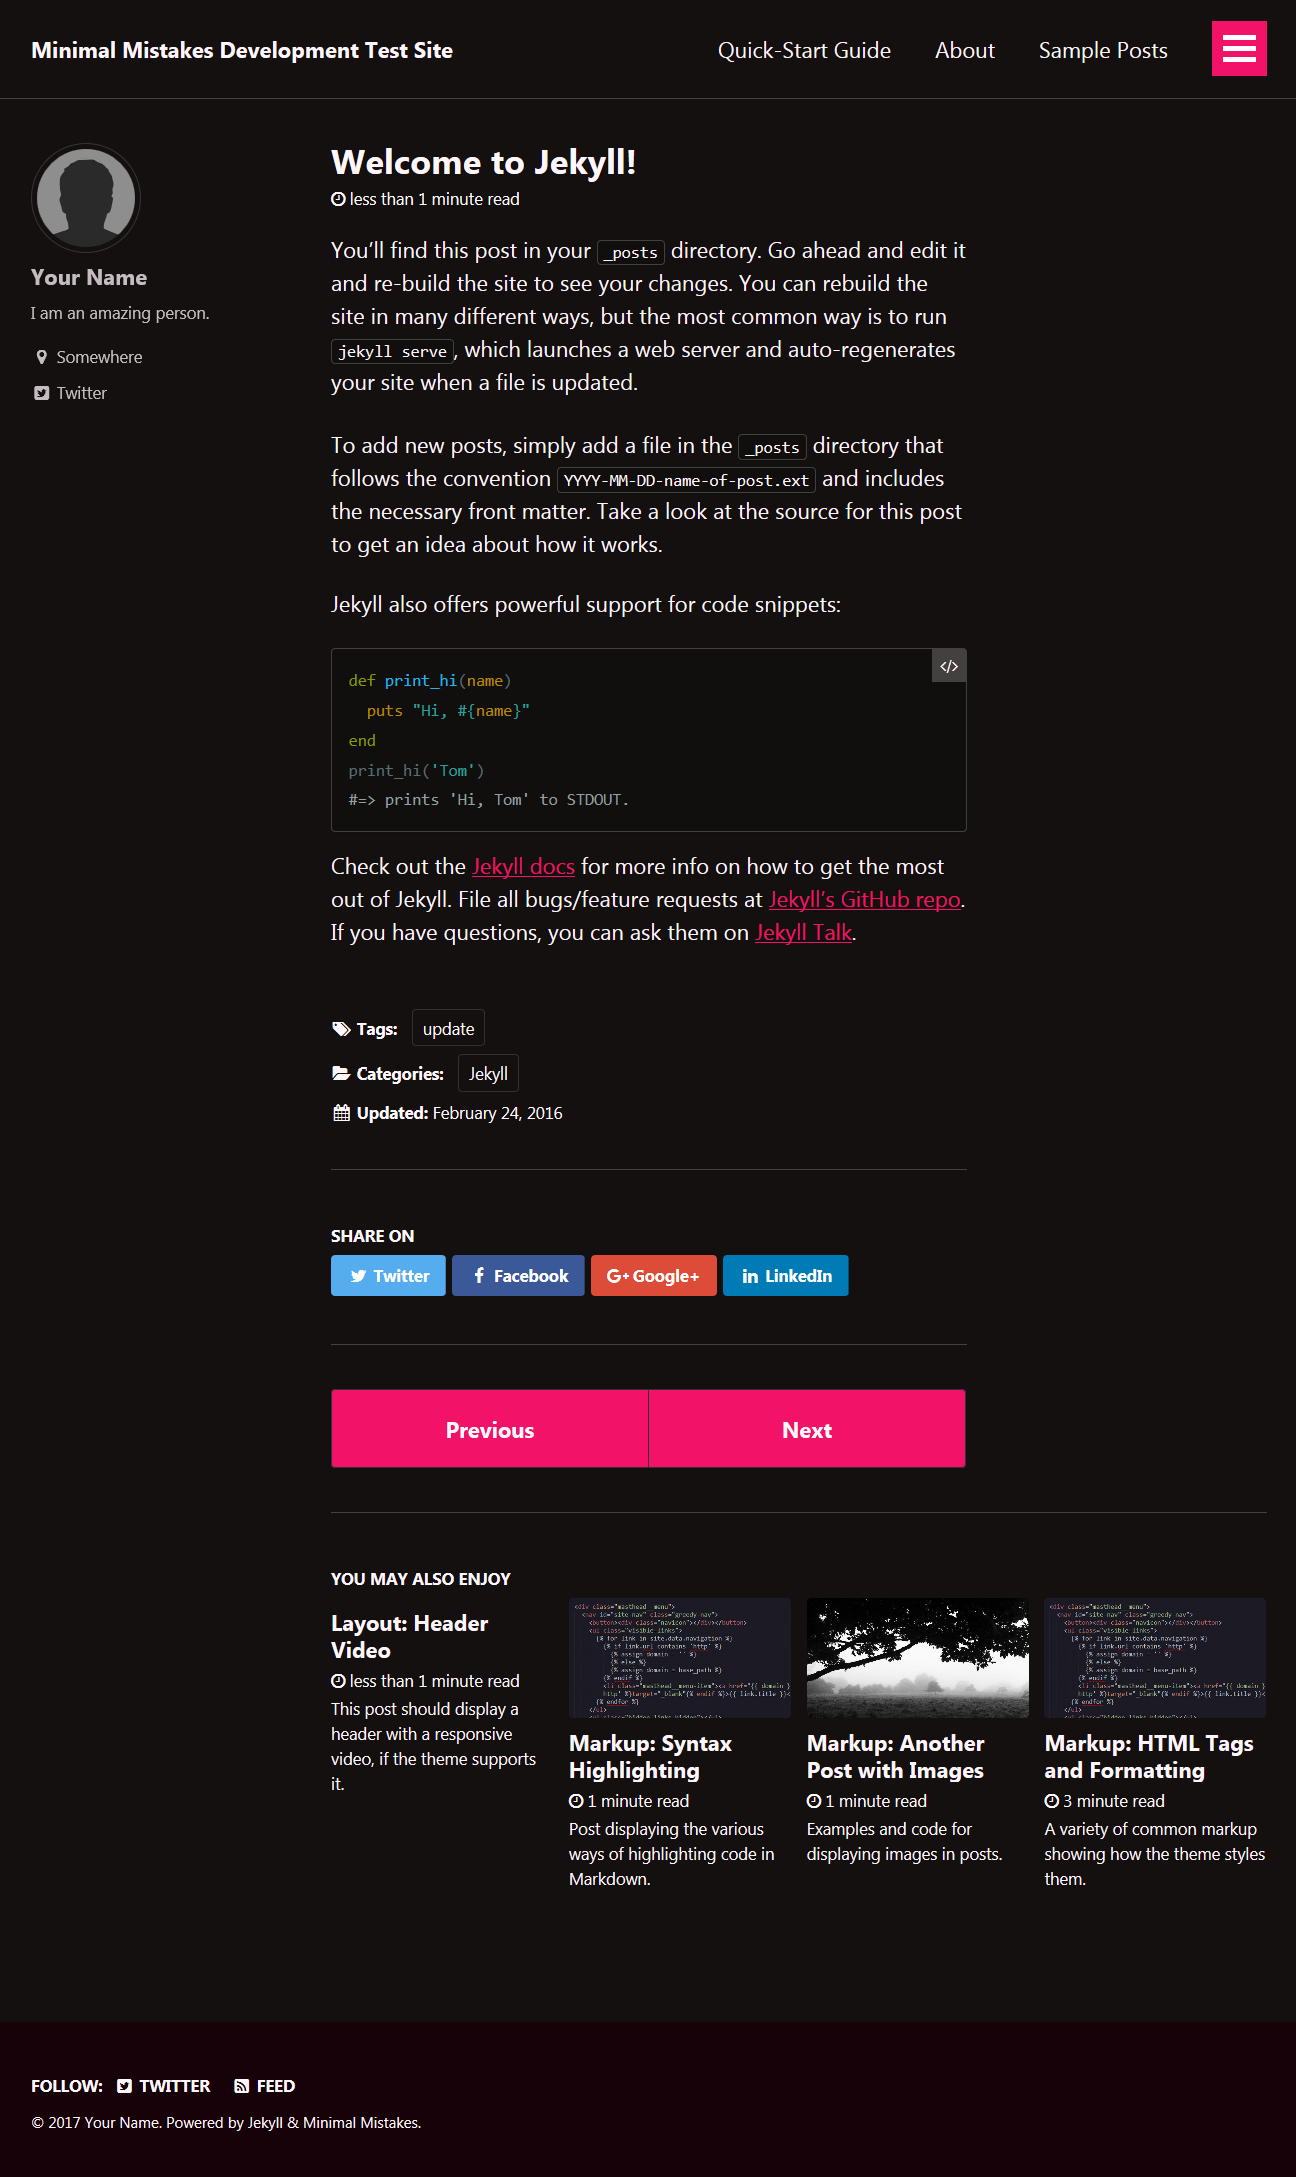
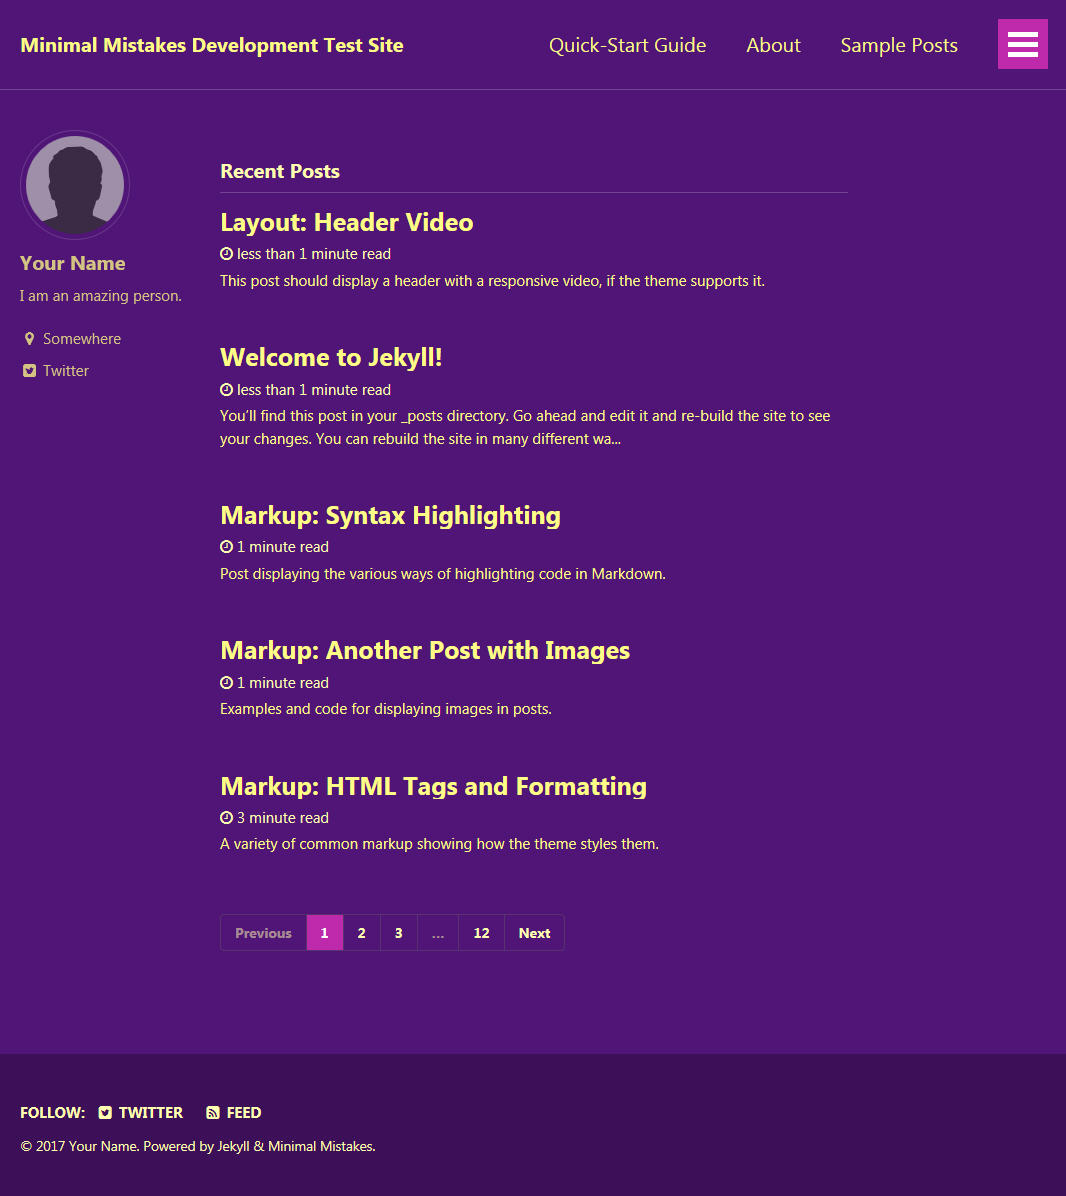
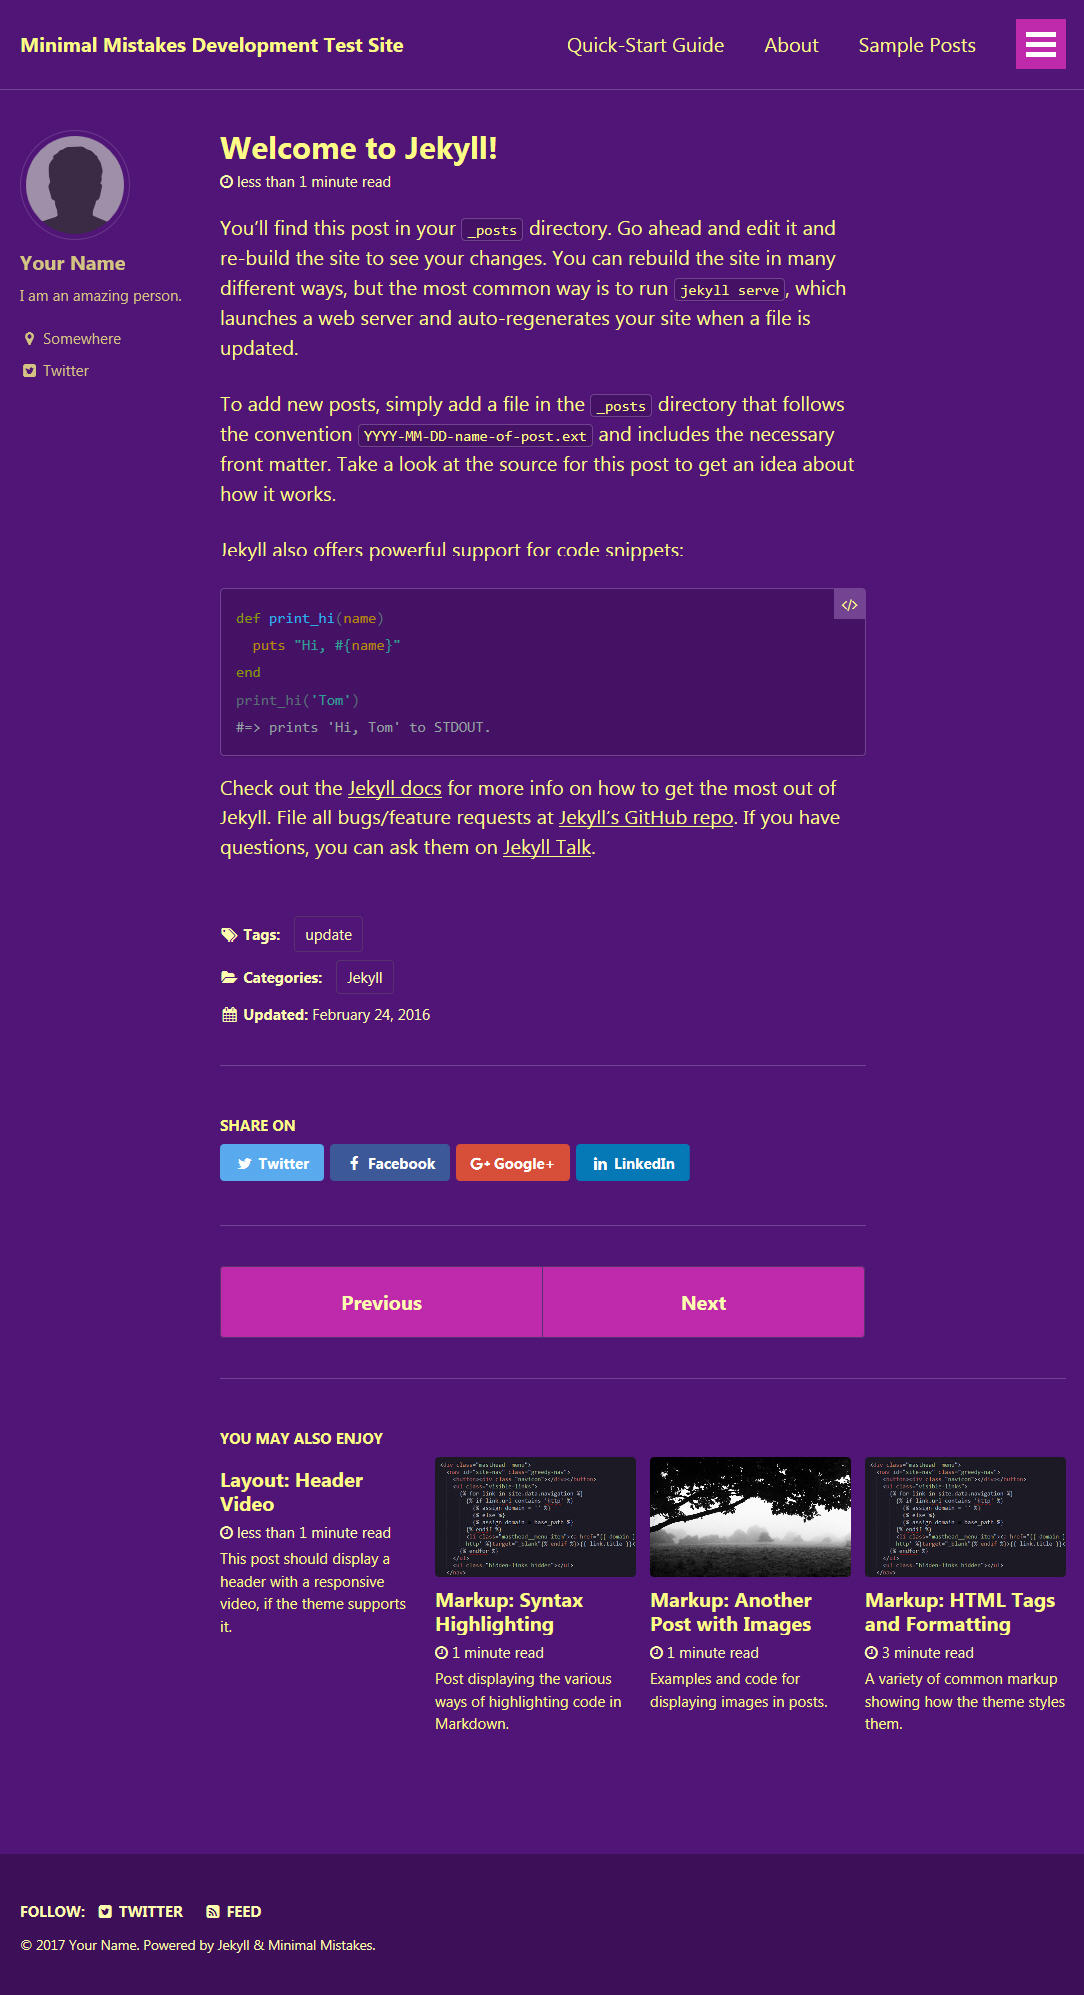
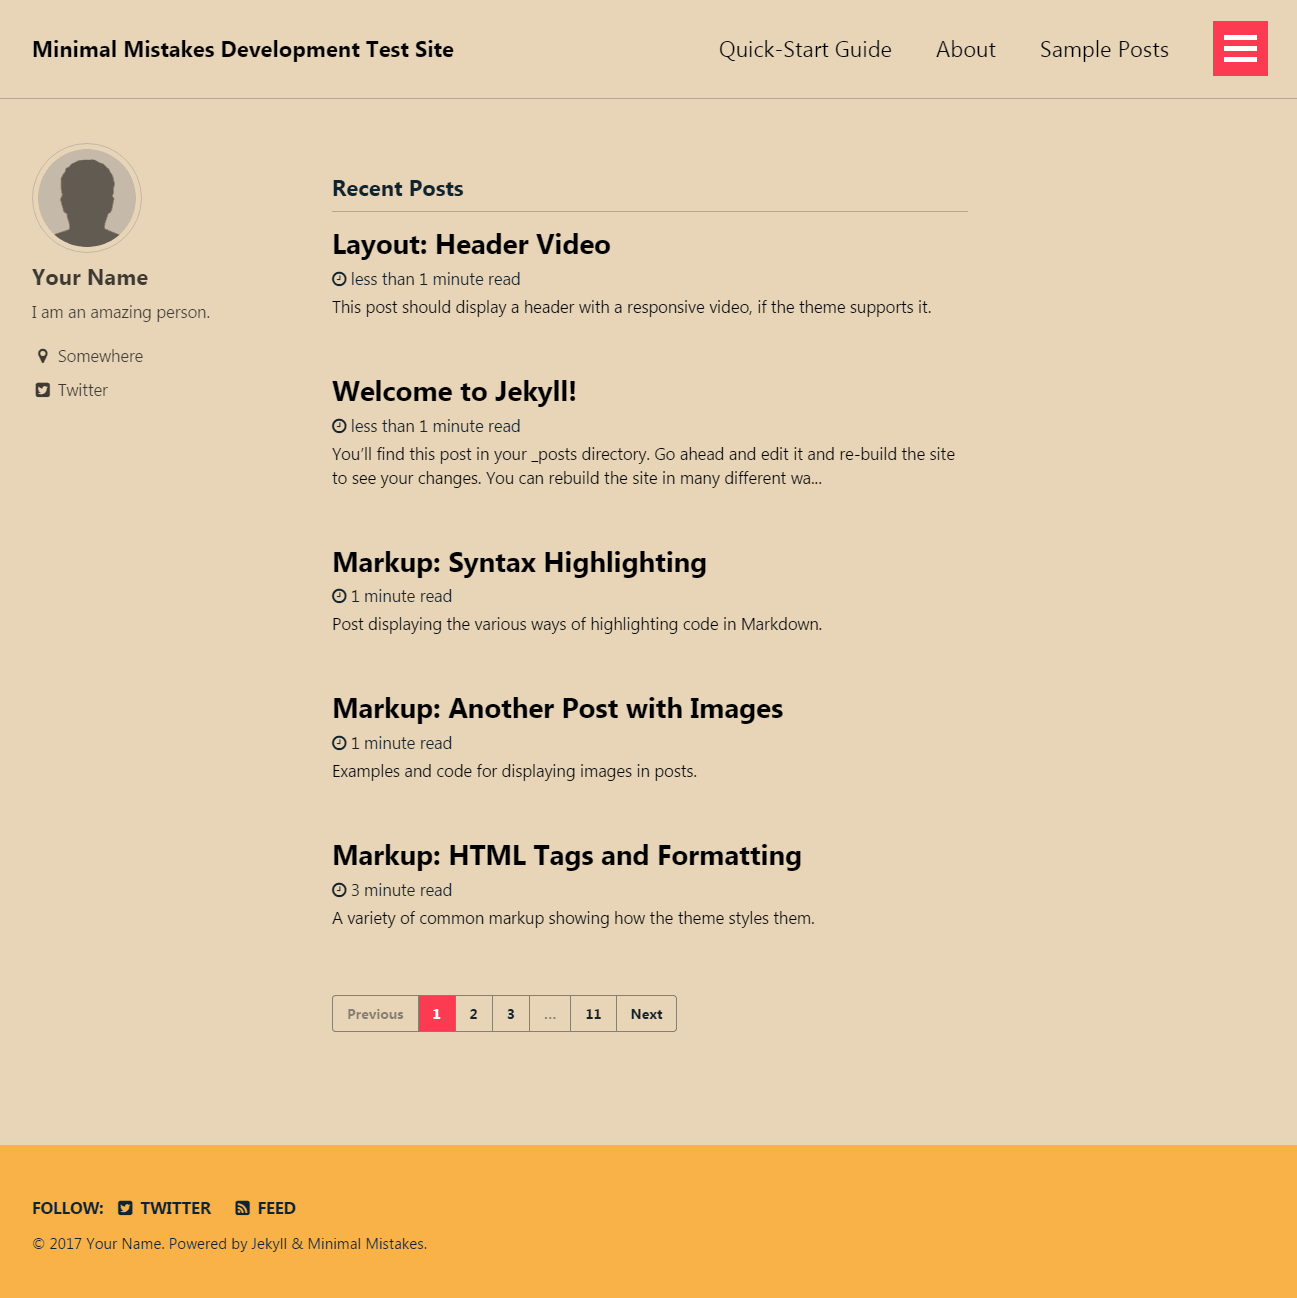
Easily change the color scheme of the theme using one of the provided “skins”:
minimal_mistakes_skin: "default" # "air", "aqua", "contrast", "dark", "dirt", "neon", "mint", "plum" "sunrise"
Note: If you have made edits to the theme’s CSS files be sure to update /assets/css/main.scss to include @import "minimal-mistakes/skins/dirt"; // skin before the minimal-mistakes import.
Air skin: air
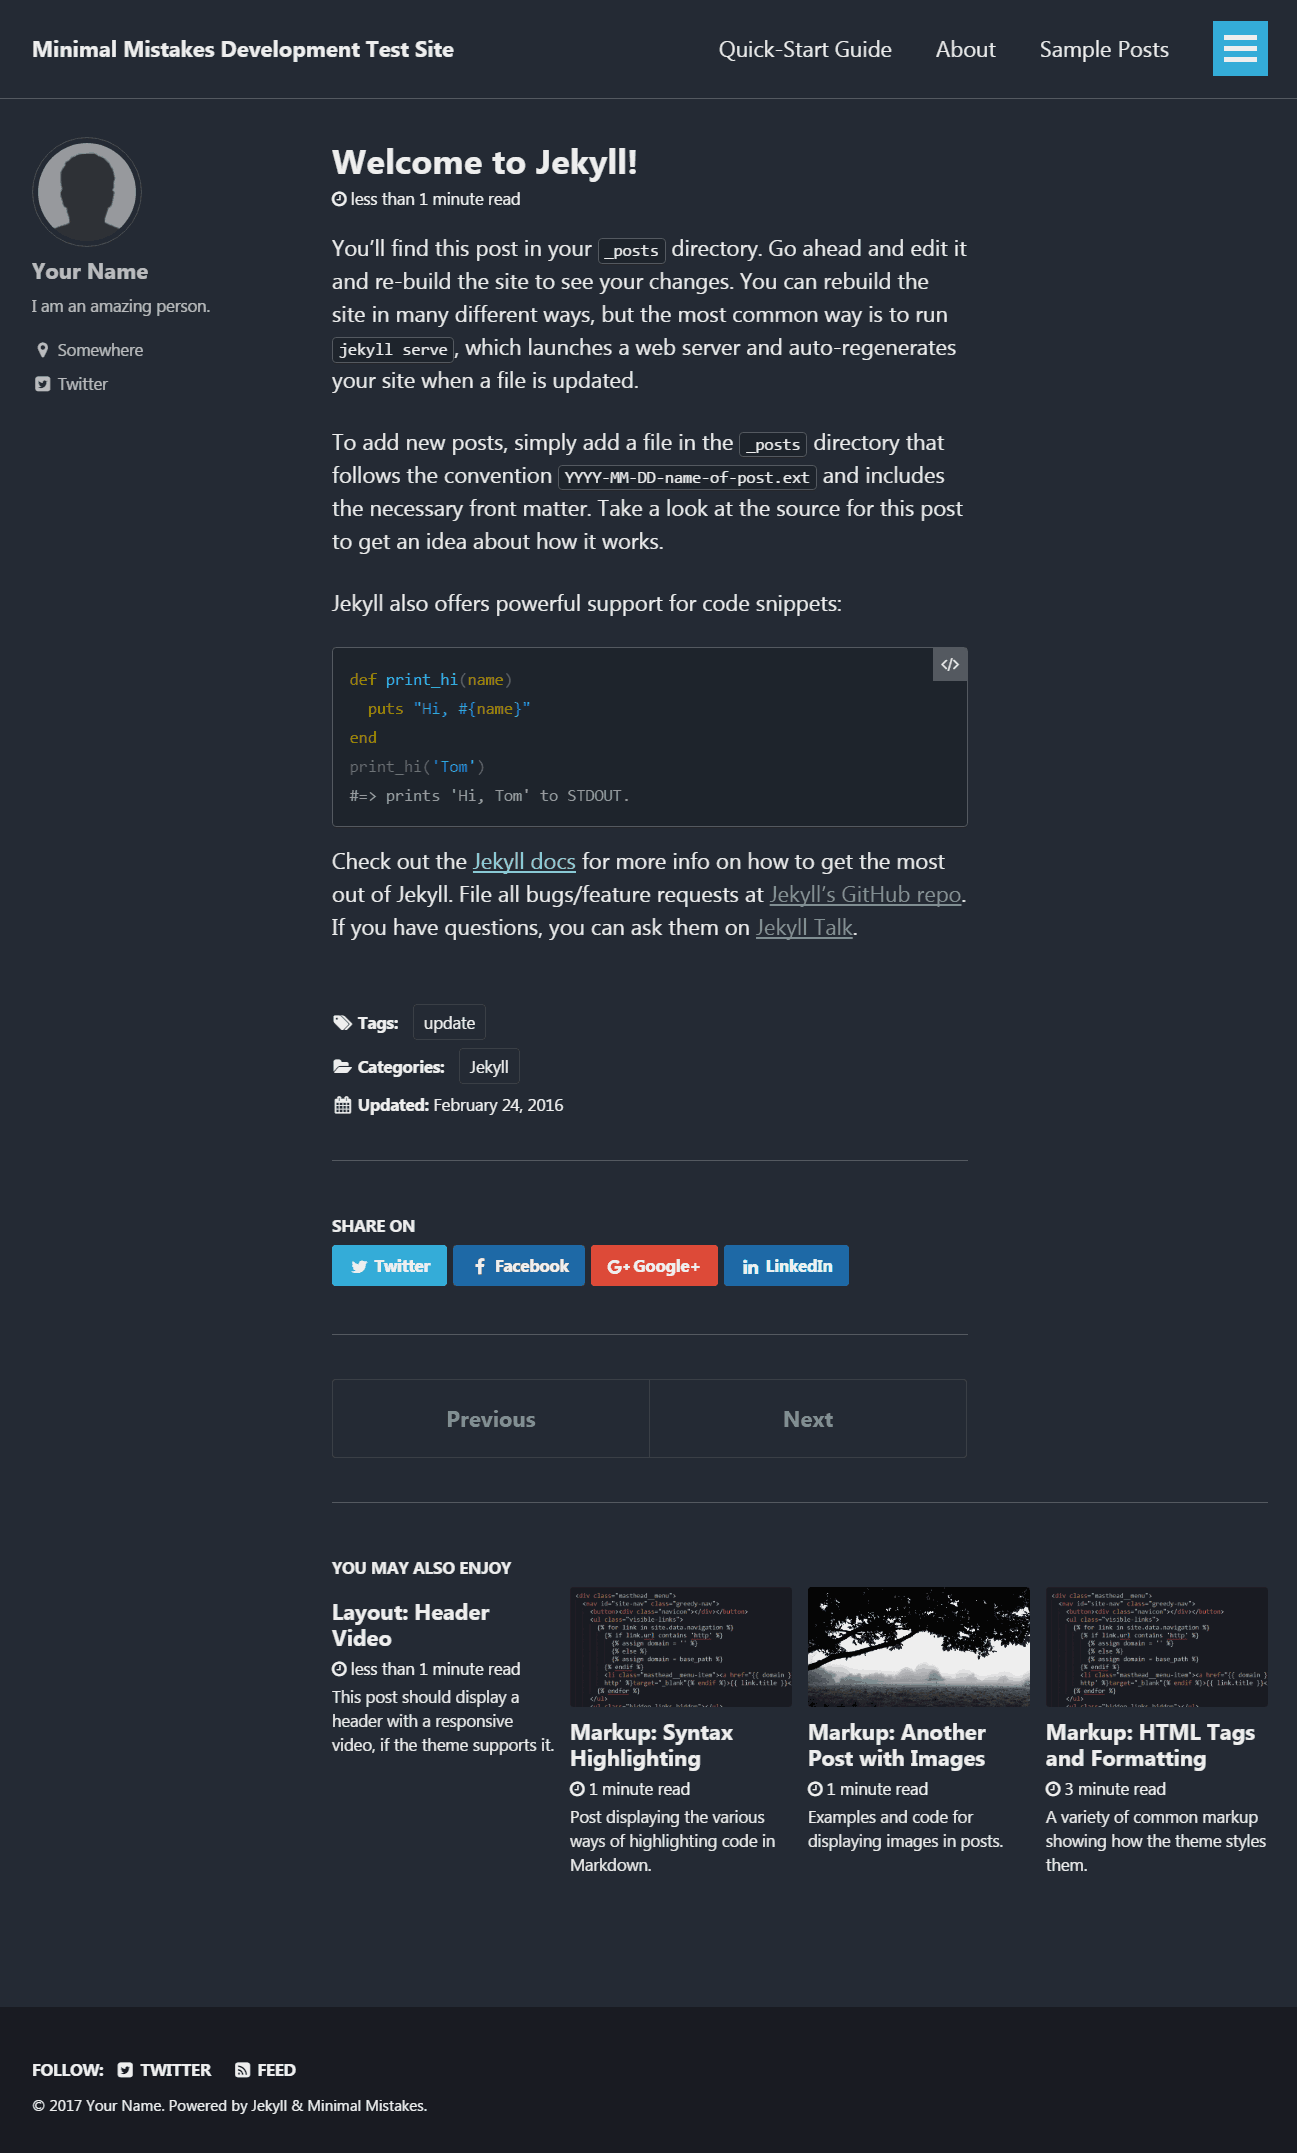
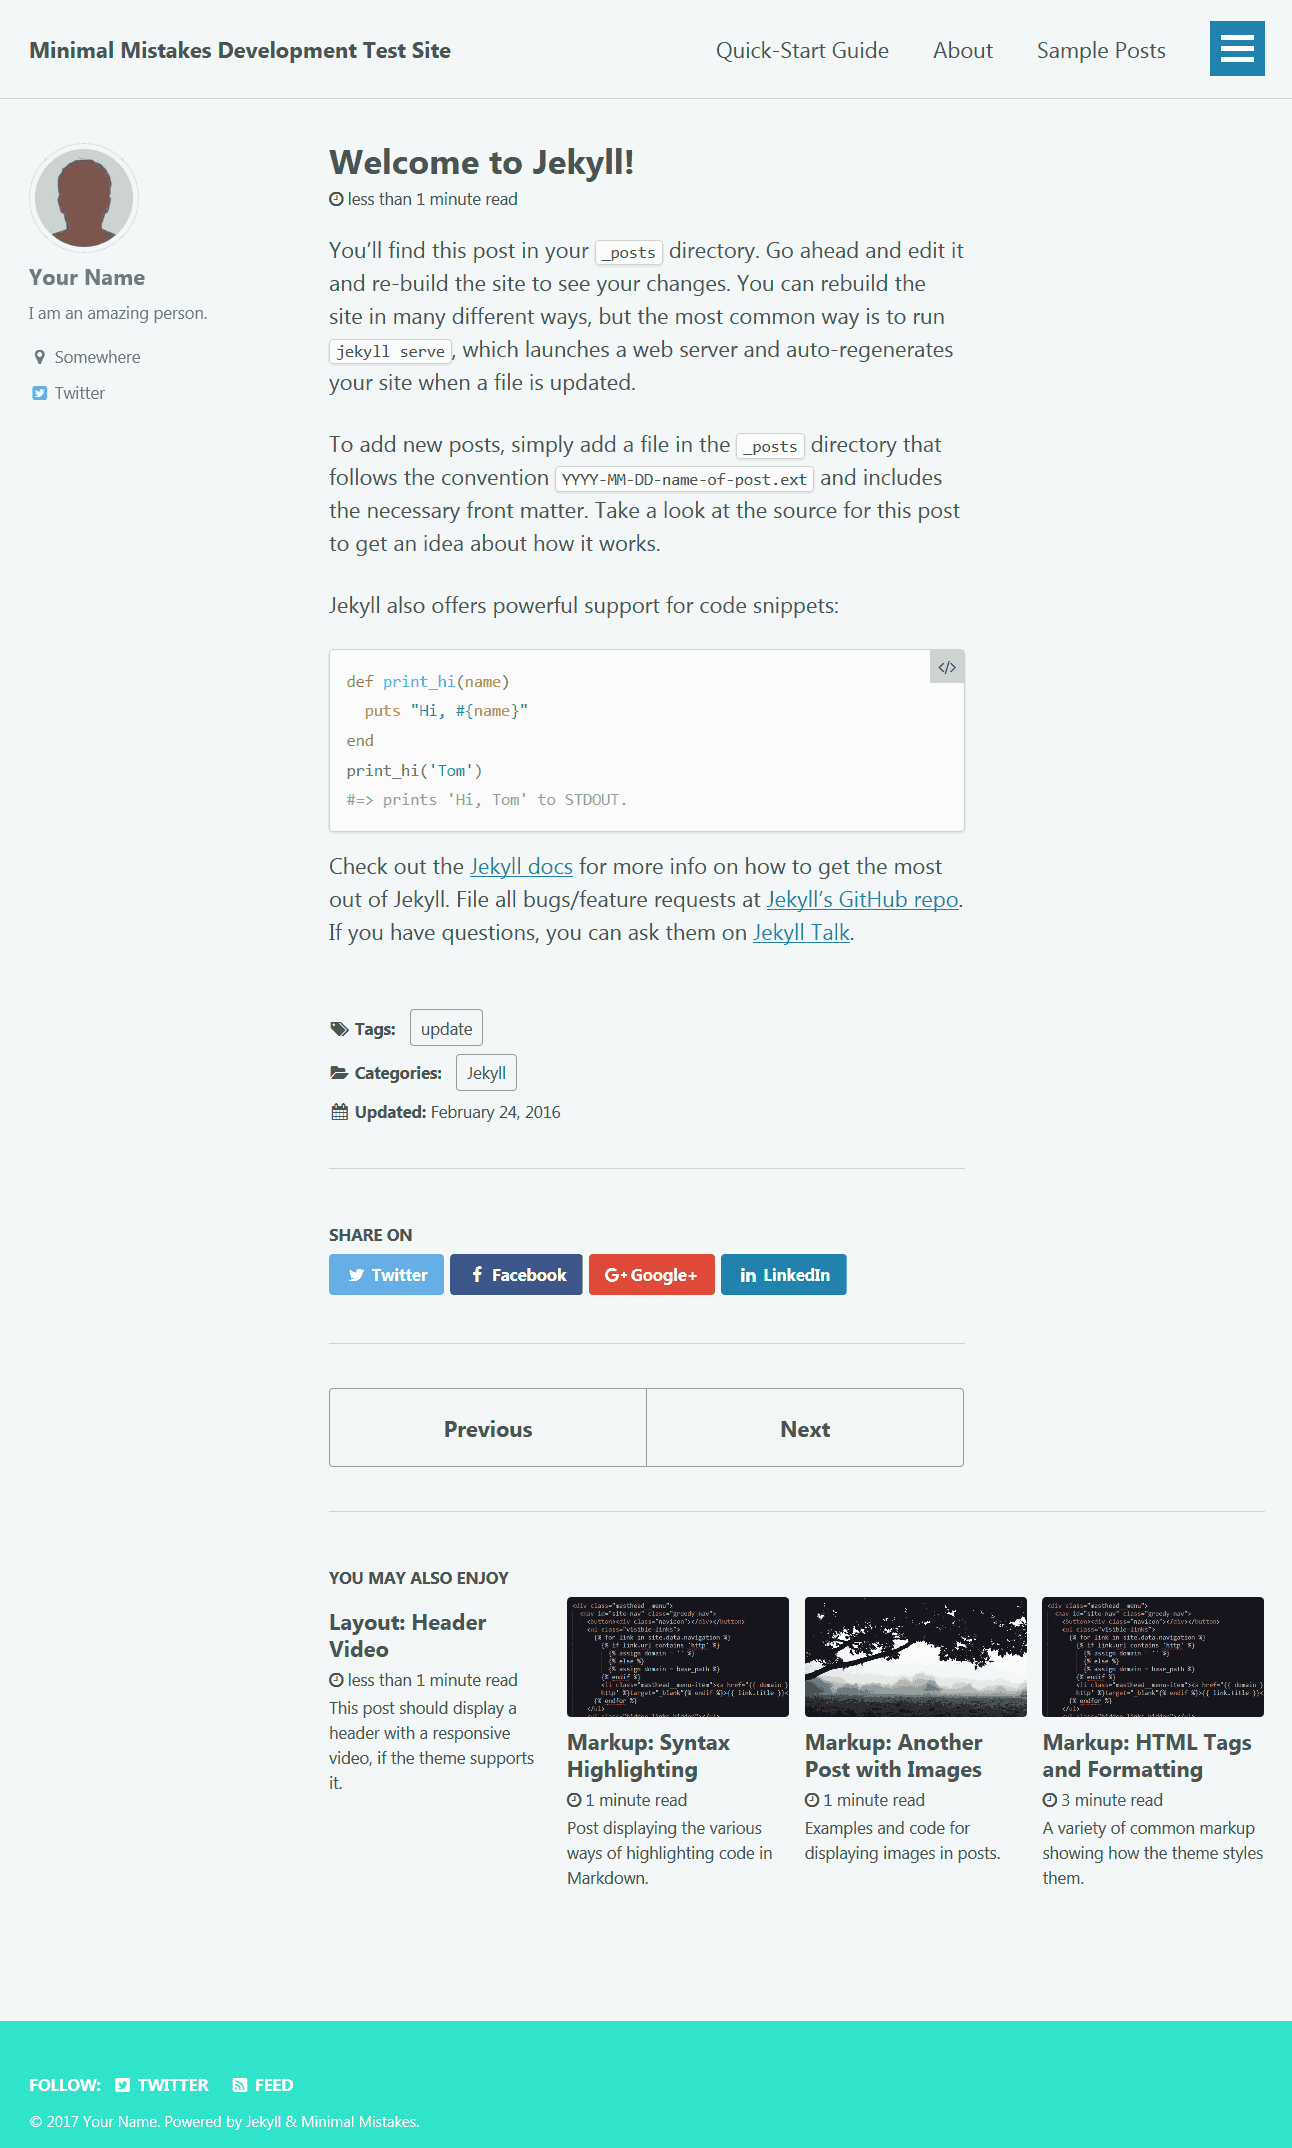
Aqua skin: aqua

Contrast skin: contrast
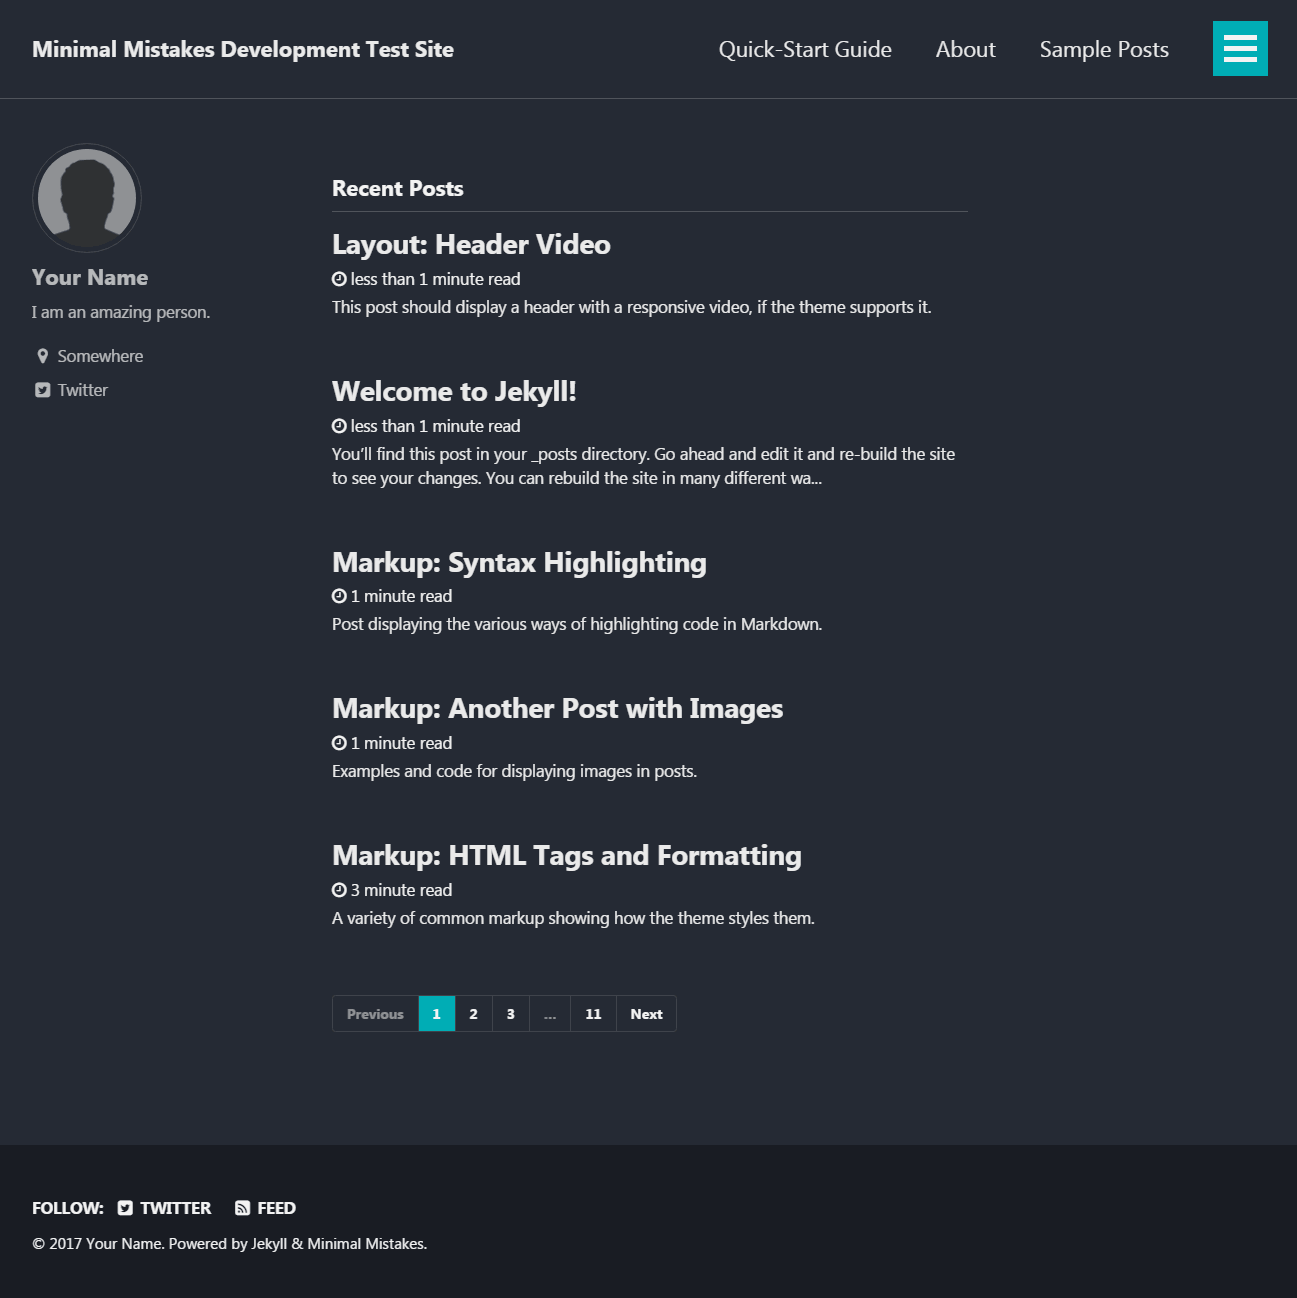
Dark skin: dark
Dirt skin: dirt
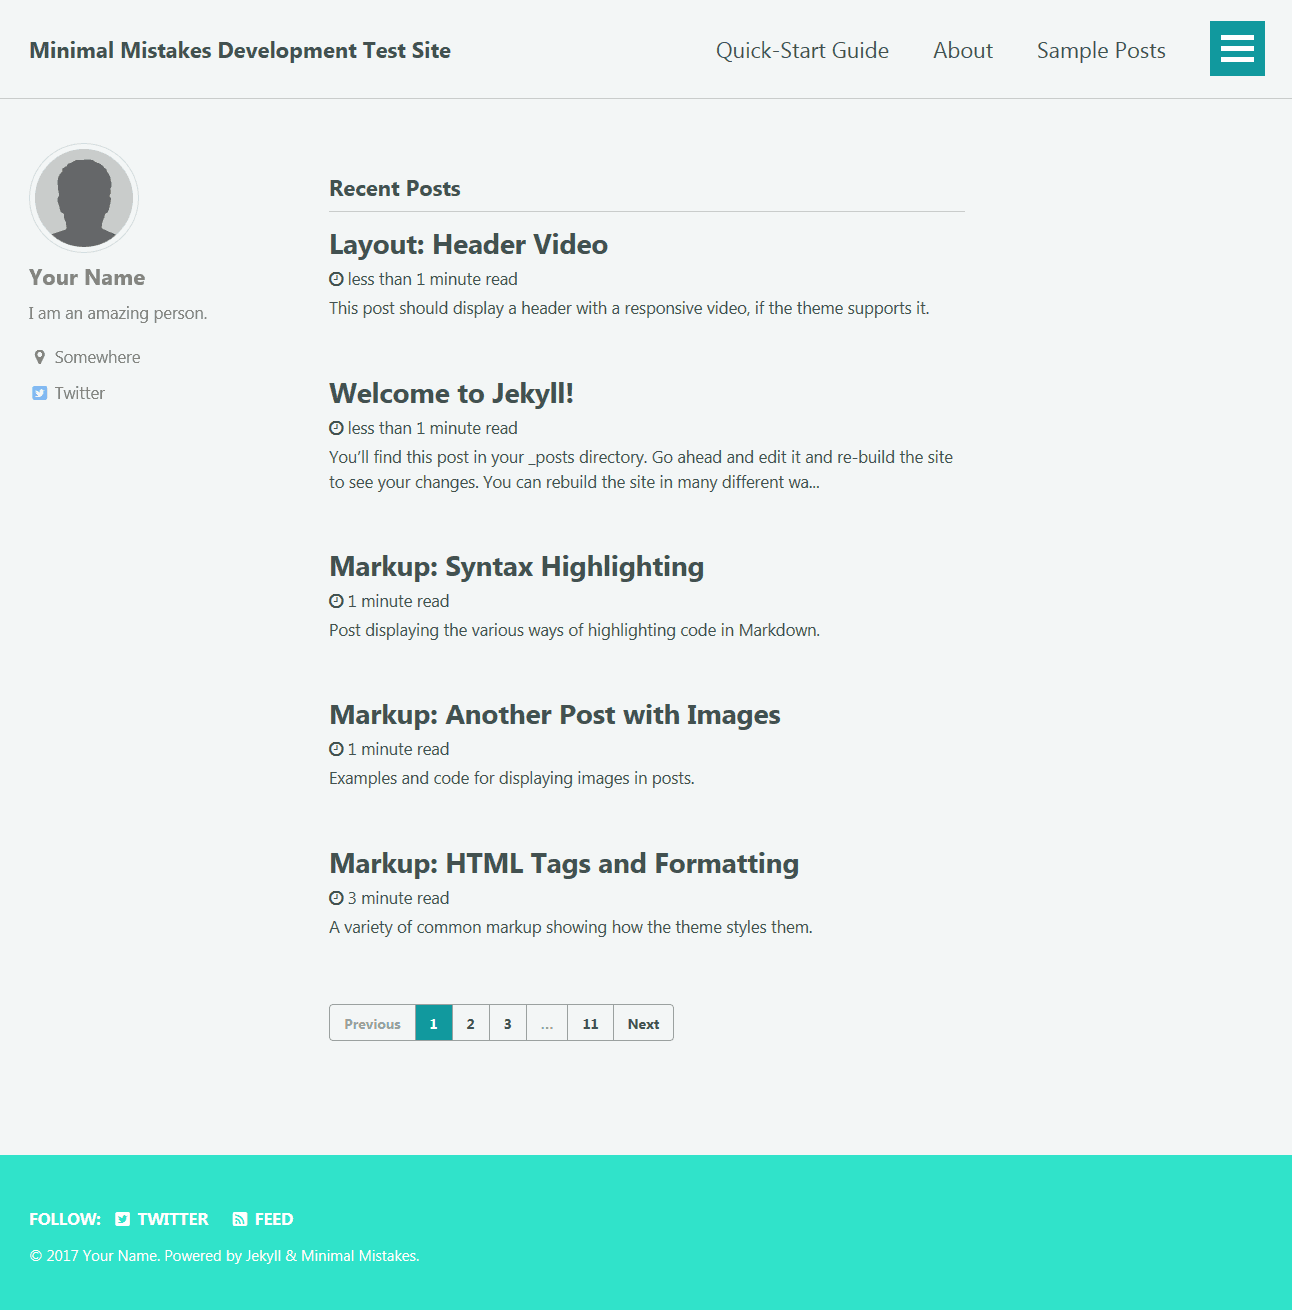
Mint skin: mint
Neon skin: neon
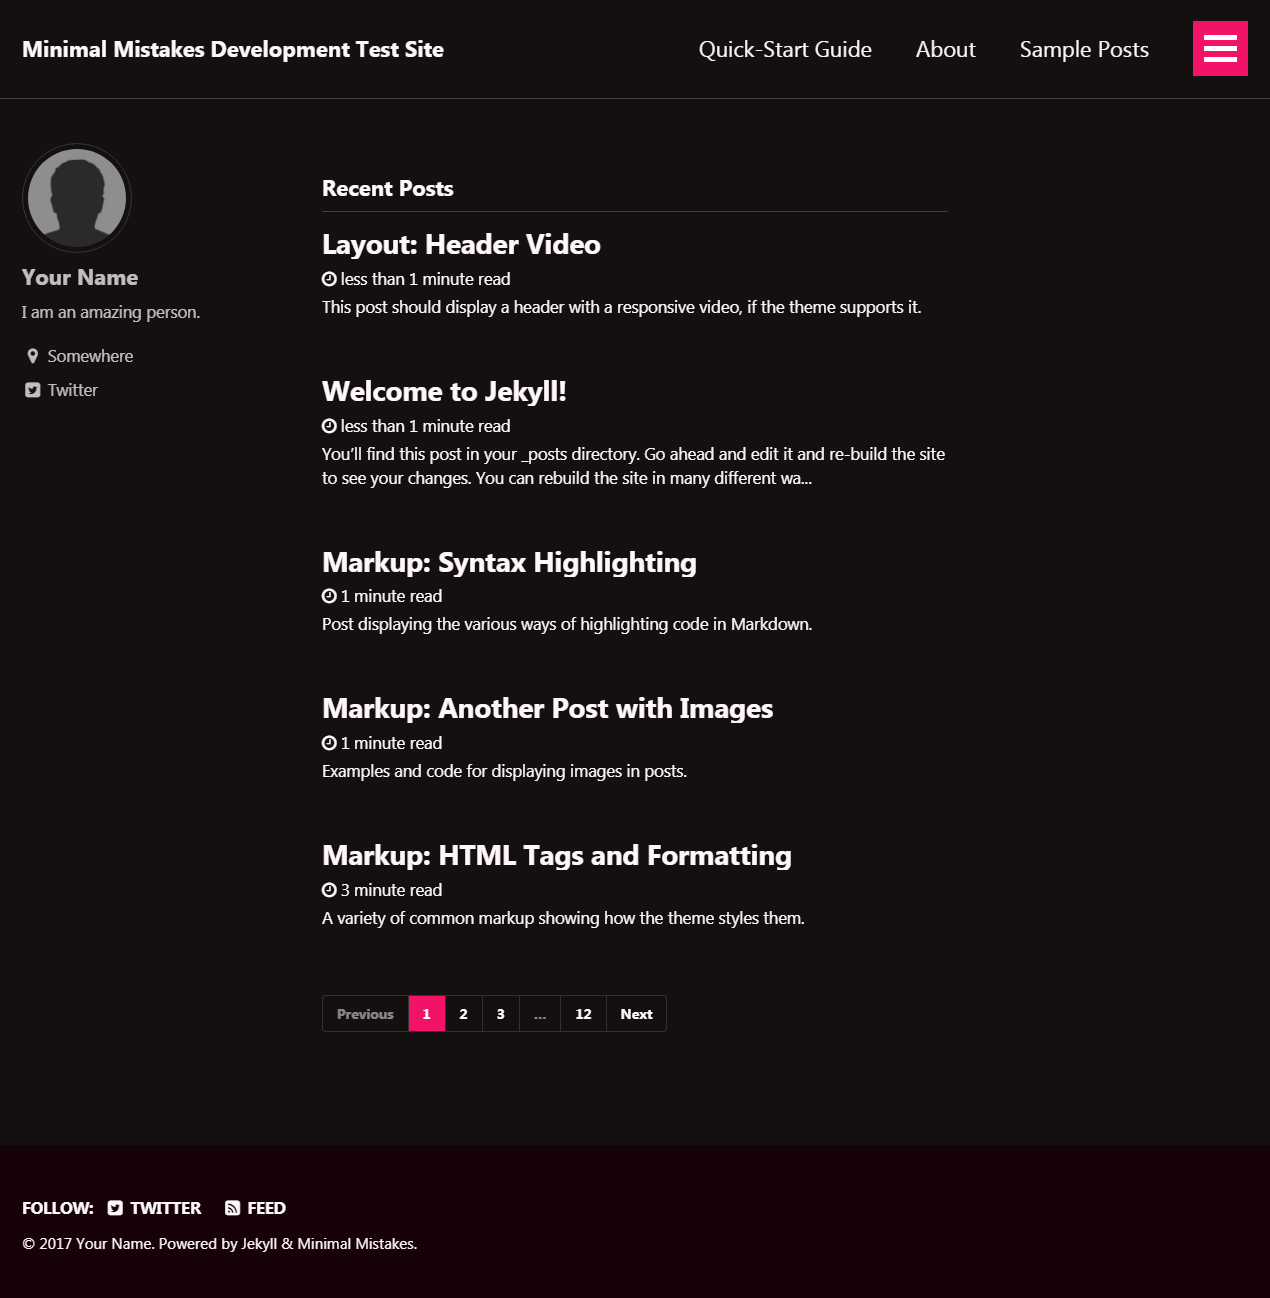
Neon skin: plum
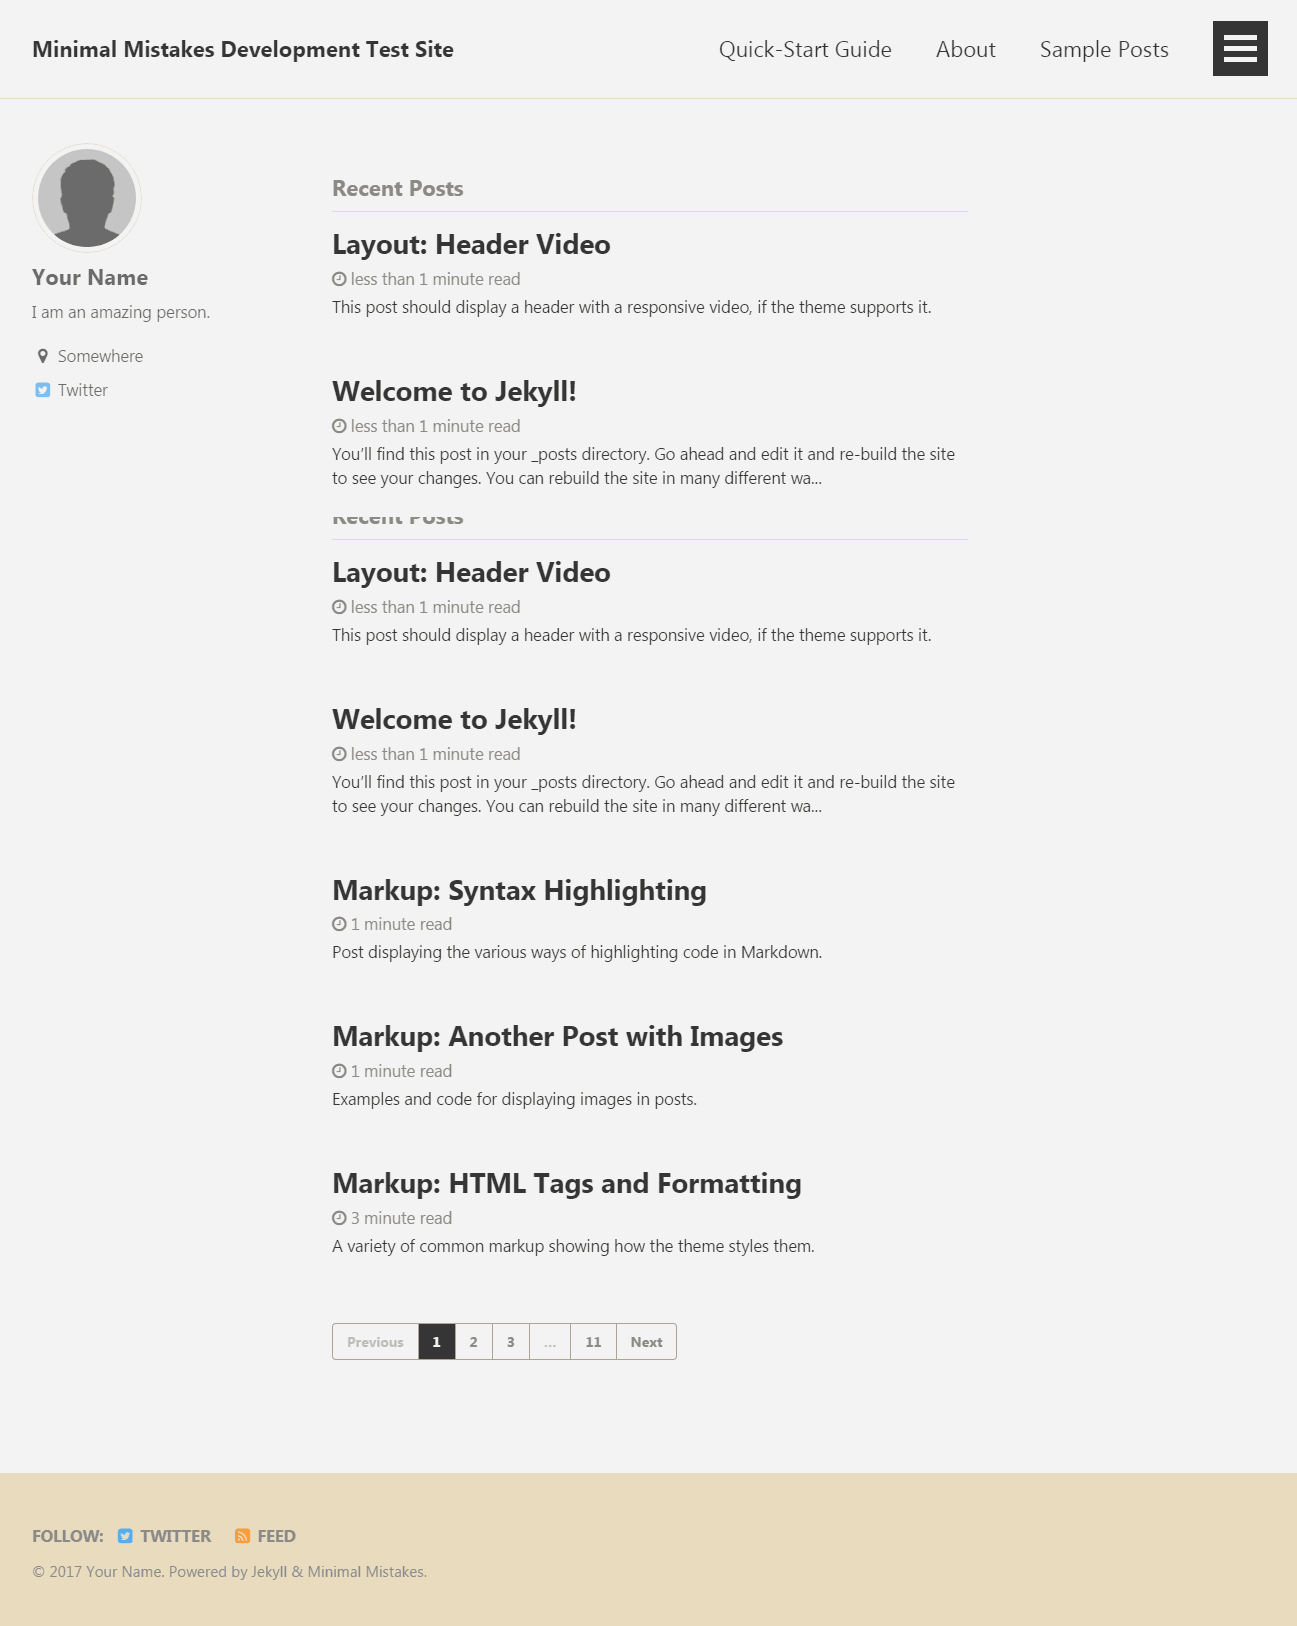
Sunrise skin: sunrise
Site Locale
site.locale is used to declare the primary language for each web page within the site.
Example: locale: "en-US" sets the lang attribute for the site to the United States flavor of English, while en-GB would be for the United Kingdom style of English. Country codes are optional and the shorter variation locale: "en" is also acceptable. To find your language and country codes check this reference table.
Properly setting the locale is important for associating localized text found in the UI Text data file. An improper match will cause parts of the UI to disappear (eg. button labels, section headings, etc).
Note: The theme comes with localized text in English (en, en-US, en-GB). If you change locale in _config.yml to something else, most of the UI text will go blank. Be sure to add the corresponding locale key and translated text to _data/ui-text.yml to avoid this.
Site Title
The name of your site. Is used throughout the theme in places like the site masthead and <title> tags.
Example: title: "My Awesome Site"
You also have the option of customizing the separation character used in SEO-friendly page titles.
Example: title_separator: "|" would produce page titles like Sample Page | My Awesome Site.
Note: Long site titles have been known to break the masthead layout. Avoid adding a long “tagline” to the title prevent this from happening eg. `My Awesome Site is the Best Because I Say So”.
Site Name
Used to assign a site author. Don’t worry, you can override the site author with different ones on specific posts, pages, or collection documents.
Example: name: "Michael Rose".
ProTip: If you want to get crafty with your YAML you can use anchors to reuse values. For example foo: &var "My String" allows you to reuse "My String" elsewhere in _config.yml like so… bar: *var. You’ll see a few examples of this in the provided Jekyll config.
Site Description
Fairly obvious. site.description describes the site. Used predominantly in meta descriptions for improving SEO.
Example: description: "A flexible Jekyll theme for your blog or site with a minimalist aesthetic."
Site URL
The base hostname and protocol for your site. If you’re hosting with GitHub Pages this will be something like url: "https://github.io.mmistakes" or url: "https://mademistakes.com" if you have a custom domain name.
GitHub Pages now forces https:// for new sites so be mindful of that when setting your URL to avoid mixed-content warnings.
Note: Jekyll 3.3 overrides this value with url: http://localhost:4000 when running jekyll serve locally in development. If you want to avoid this behavior set JEKYLL_ENV=production to force the environment to production.
Site Base URL
This little option causes all kinds of confusion in the Jekyll community. If you’re not hosting your site as a GitHub Pages Project or in a subfolder (eg: /blog), then don’t mess with it.
In the case of the Minimal Mistakes demo site it’s hosted on GitHub at https://mmistakes.github.io/minimal-mistakes. To correctly set this base path I’d use url: "https://mmistakes.github.io" and baseurl: "/minimal-mistakes".
For more information on how to properly use site.url and site.baseurl as intended by the Jekyll maintainers, check Parker Moore’s post on the subject.
Note: When using baseurl remember to include it as part of your path when testing your site locally. Values of url: and baseurl: "/blog" would make your local site visible at http://localhost:4000/blog and not http://localhost:4000.
Site Repository
Add your repository name with organization to your site’s configuration file, _config.yml.
repository: "username/repo-name"
“NWO” stands for “name with owner.” It is GitHub lingo for the username of the owner of the repository plus a forward slash plus the name of the repository, e.g. mmistakes/minimal-mistakes, where mmistakes is the owner and minimal-mistakes is the repository name.
Your site.github.* fields should fill in like normal. If you run Jekyll with the –verbose flag, you should be able to see all the API calls made.
If you don’t set repository correctly you may see the following error when trying to serve or build your Jekyll site:
Liquid Exceptions: No repo name found. Specify using PAGES_REPO_NWO environment variables, repository in your configuration, or set up origin git remote pointing to your github.com repository.
For more information on how site.github data can be used with Jekyll check out github-metadata’s documentation.
Site Scripts
Add scripts to the <head> or closing </body> elements by assigning paths to either head_scripts and/or footer_scripts.
For example, to add a CDN version of jQuery to page’s head along with a custom script you’d do the following:
head_scripts:
  - https://code.jquery.com/jquery-3.2.1.min.js
  - /assets/js/your-custom-head-script.js
Consult the JavaScript documentation for more information on working with theme scripts.
Site Default Teaser Image
To assign a fallback teaser image used in the “Related Posts” module, place a graphic in the /assets/images/ directory and add the filename to _config.yml like so:
teaser: /assets/images/500x300.png
This image can be overridden at anytime by applying the following to a document’s YAML Front Matter.
header:
  teaser: /assets/images/my-awesome-post-teaser.jpg
Breadcrumb Navigation (Beta)
Enable breadcrumb links to help visitors better navigate deep sites. Because of the fragile method of implementing them they don’t always produce accurate links reliably. For best results:
- Use a category based permalink structure e.g.
permalink: /:categories/:title/ - Manually create pages for each category or use a plugin like jekyll-archives to auto-generate them. If these pages don’t exist breadcrumb links to them will be broken.
breadcrumbs: true # disabled by default
Breadcrumb start link text and separator character can both be changed in the UI Text data file.
Reading Time
Enable estimated reading time snippets with read_time: true in YAML Front Matter. 200 has been set as the default words per minute value — which can be changed by adjusting words_per_minute: in _config.yml.
Instead of adding read_time: true to each post, apply as a default in _config.yml like so:
defaults:
  # _posts
  - scope:
      path: ""
      type: posts
    values:
      read_time: true
To disable reading time for a post, add read_time: false its YAML Front Matter to override what was set in _config.yml.
Comments
Disqus, Discourse, Facebook, Google+, and static-based commenting via Staticman are built into the theme. First set the comment provider you’d like to use:
| Name | Comment Provider |
|---|---|
| disqus | Disqus |
| discourse | Discourse |
| Facebook Comments | |
| google-plus | Google+ Comments |
| staticman_v2 | Staticman v2 |
| staticman | Staticman v1 (deprecated) |
| custom | Other |
Then add comments: true to each document you want comments visible on.
Instead of adding YAML Front Matter to each document, apply as a default in _config.yml. To enable comments for all posts:
defaults:
  # _posts
  - scope:
      path: ""
      type: posts
    values:
      comments: true
If you add comments: false to a post’s YAML Front Matter it will override the default and disable comments for just that post.
Note: Comments are disabled by default in development. To enable when testing/building locally be sure to set
JEKYLL_ENV=production to force the environment to production.
Disqus
To use Disqus you’ll need to create an account and shortname. Once you have both update _config.yml to:
comments:
  provider: "disqus"
  disqus:
    shortname: "your-disqus-shortname"
Discourse
For guidance on how to set up Discourse for embedding comments from a topic on a post page, consult this guide.
comments:
  provider               : "discourse"
  discourse:
    server               : # meta.discourse.org
Note: Do not include http:// or https:// when setting your Discourse server. The theme automatically prepends the URL //, following a scheme-less pattern.
Facebook Comments
To enable Facebook Comments choose how many comments you’d like visible per post and the color scheme of the widget.
comments:
  provider               : "facebook"
  facebook:
    appid                : # optional
    num_posts            : # 5 (default)
    colorscheme          : # "light" (default), "dark"
Static-Based Comments via Staticman
Transform user comments into _data files that live inside of your GitHub repository by enabling Staticman.
Note: Looking to migrate comments from a Wordpress based site? Give this tool a try.
Add Staticman as a Collaborator
- Allow Staticman push access to your GitHub repository by clicking on Settings, then the Collaborators tab and adding
staticmanappas a collaborator. - To accept the pending invitation visit:
https://api.staticman.net/v2/connect/{your GitHub username}/{your repository name}. Consult the Staticman “Get Started” guide for more info.
Configure Staticman
Staticman v2
Default settings have been provided in staticman.yml and are commented to guide you through setup. View the full list of configurations.
# staticman.yml (defaults)
comments:
  allowedFields      : ["name", "email", "url", "message"]
  branch             : "master"
  commitMessage      : "New comment"
  filename           : "comment-{@timestamp}"
  format             : "yaml"
  generatedFields:
    date:
      type           : "date"
      options:
        format       : "iso8601"
  moderation         : true
  path               : "/_data/comments/{options.slug}" (default)
  requiredFields     : ["name", "email", "message"]
  transforms:
    email            : md5
These settings need to be added to your _config.yml file as well:
# _config.yml (defaults)
repository  : # GitHub username/repo-name e.g. "mmistakes/minimal-mistakes"
comments:
  provider  : "staticman_v2"
staticman:
  branch    : "master"
Branch setting: This is the branch comment files will be sent to via pull requests. If you host your site on GitHub Pages it will likely be master unless your repo is setup as a project — use gh-pages in that case.
Note: Staticman is currently only compatible with GitHub based repositories. Support for GitLab Pages is planned but not available yet.
Staticman v1 (deprecated)
Default settings have been provided in _config.yml. The important ones to set are provider: "staticman", branch, and path. View the full list of configurations.
# _config.yml (defaults)
comments:
  provider: "staticman"
staticman:
  allowedFields          : ['name', 'email', 'url', 'message']
  branch                 : "master"
  commitMessage          : "New comment."
  filename               : comment-{@timestamp}
  format                 : "yml"
  moderation             : true
  path                   : "_data/comments/{options.slug}"
  requiredFields         : ['name', 'email', 'message']
  transforms:
    email                : "md5"
  generatedFields:
    date:
      type               : "date"
      options:
        format           : "iso8601" # "iso8601" (default), "timestamp-seconds", "timestamp-milliseconds"
Comment Moderation
By default comment moderation is enabled in staticman.yml. As new comments are submitted Staticman will send a pull request. Merging these in will approve the comment, close the issue, and automatically rebuild your site (if hosted on GitHub Pages).
To skip this moderation step simply set moderation: false.
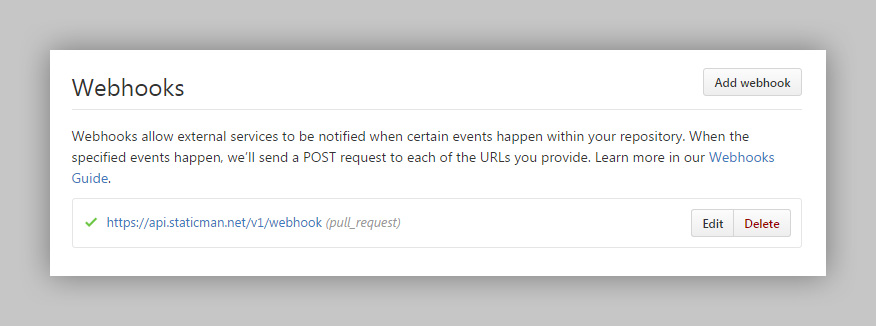
ProTip: Create a GitHub webhook that sends a POST request to the following payload URL https://api.staticman.net/v2/webhook and triggers a “Pull request” event to delete Staticman branches on merge.
reCAPTCHA Support (v2 only)
To enable Google’s reCAPTCHA to aid in spam detection you’ll need to:
- Apply for reCAPTCHA API keys and register your site using the reCAPTCHA V2 type.
- Add your site and secret keys to
staticman.ymland_config.yml. Be sure to properly encrypt your secret key using Staticman’s encrypt endpoint.
reCaptcha:
  enabled: true
  siteKey: # "6LdRBykTAAAAAFB46MnIu6ixuxwu9W1ihFF8G60Q"
  secret: # "PznnZGu3P6eTHRPLORniSq+J61YEf+A9zmColXDM5icqF49gbunH51B8+h+i2IvewpuxtA9TFoK68TuhUp/X3YKmmqhXasegHYabY50fqF9nJh9npWNhvITdkQHeaOqnFXUIwxfiEeUt49Yoa2waRR7a5LdRAP3SVM8hz0KIBT4="
Other Comment Providers
To use another provider not included with the theme set provider: "custom" then add their embed code to _includes/comments-providers/custom.html.
Custom Feed URL
By default the theme links to feed.xml generated in the root of your site by the jekyll-feed plugin. To link to an externally hosted feed update atom_feed in _config.yml like so:
atom_feed:
  path: "http://feeds.feedburner.com/youFeedname"
Note: By default the site feed is linked in two locations: inside the <head> element and at the bottom of every page in the site footer.
SEO, Social Sharing, and Analytics Settings
All optional, but a good idea to take the time setting up to improve SEO and links shared from the site.
Google Search Console
Formerly known as Google Webmaster Tools, add your verification code like so: google_site_verification: "yourVerificationCode".
Note: You likely won’t have to do this if you verify site ownership through Google Analytics instead.
Bing Webmaster Tools
There are several ways to verify site ownership — the easiest adding an authentication code to your config file.
Copy and paste the string inside of content:
<meta name="msvalidate.01" content="0FC3FD70512616B052E755A56F8952D" />
Into _config.yml
bing_site_verification: "0FC3FD70512616B052E755A56F8952D"
Naver Webmaster Tools
To verify site ownership you will need to create a Naver account and then Add your site via Naver Webmaster Tools.
Much like Google and Bing you’ll be provided with a meta description:
<meta name="naver-site-verification" content="6BF5A01C0E650B479B612AC5A2184144">`
Which you can add to your _config.yml like so:
naver_site_verification: "6BF5A01C0E650B479B612AC5A2184144"
Yandex
To verify site ownership copy and paste the string inside of content:
<meta name='yandex-verification' content='2132801JL' />
Into _config.yml
yandex_site_verification: "2132801JL"
Twitter Cards and Facebook Open Graph
To improve the appearance of links shared from your site to social networks like Twitter and Facebook be sure to configure the following.
Site Twitter Username
Twitter username for the site. For pages that have custom author Twitter accounts assigned in their YAML Front Matter or data file, they will be attributed as a creator in the Twitter Card.
For example if my site’s Twitter account is @mmistakes-theme I would add the following to _config.yml
twitter:
  username: "mmistakes-theme"
And if I assign @mmistakes as an author account it will appear in the Twitter Card along with @mmistakes-theme, attributed as a creator of the page being shared.
Note: You need to apply for Twitter Cards and validate they’re working on your site before they will begin showing up.
Facebook Open Graph
If you have a Facebook ID or publisher page add them:
facebook:
  app_id:  # A Facebook app ID
  publisher:  # A Facebook page URL or ID of the publishing entity
While not part a part of Open Graph, you can also add your Facebook username for use in the sidebar and footer.
facebook:
  username: "michaelrose"  # https://www.facebook.com/michaelrose
ProTip: To debug Open Graph data use this tool to test your pages. If content changes aren’t reflected you will probably have to hit the Fetch new scrape information button to refresh.
Open Graph Default Image
For pages that don’t have a header.image assigned in their YAML Front Matter, site.og_image will be used as a fallback. Use your logo, icon, avatar or something else that is meaningful. Just make sure it is place in the /assets/images/ folder, a minimum size of 120px by 120px, and less than 1MB in file size.
og_image: /assets/images/site-logo.png

Documents who have a header.image assigned in their YAML Front Matter will appear like this when shared on Twitter and Facebook.


Include your social profile in search results
Use markup on your official website to add your social profile information to the Google Knowledge panel in some searches. Knowledge panels can prominently display your social profile information.
social:
  type:  # Person or Organization (defaults to Person)
  name:  # If the user or organization name differs from the site's name
  links:
    - "https://twitter.com/yourTwitter"
    - "https://facebook.com/yourFacebook"
    - "https://instagram.com/yourProfile"
    - "https://www.linkedin.com/in/yourprofile"
    - "https://plus.google.com/your_profile"
Analytics
Analytics is disabled by default. To enable globally select one of the following:
| Name | Analytics Provider |
|---|---|
| Google Standard Analytics | |
| google-universal | Google Universal Analytics |
| custom | Other analytics providers |
For Google Analytics add your Tracking Code:
analytics:
  provider: "google-universal"
  google:
    tracking_id: "UA-1234567-8"
To use another provider not included with the theme set provider: "custom" then add their embed code to _includes/analytics-providers/custom.html.
Note: Analytics are disabled by default in development. To enable when testing/building locally be sure to set
JEKYLL_ENV=production to force the environment to production.
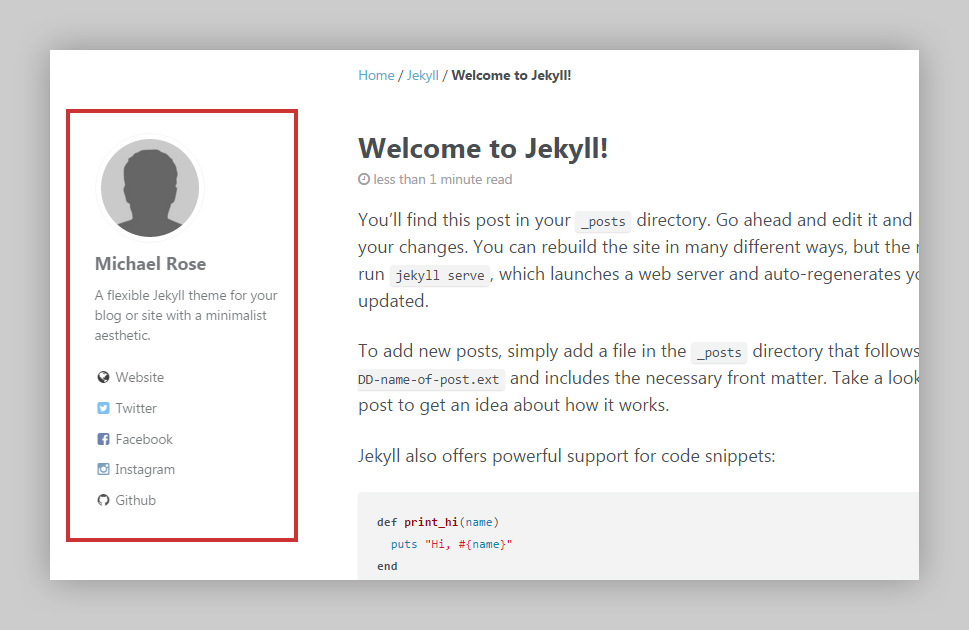
Site Author
Used as the defaults for defining what appears in the author sidebar.
Note: For sites with multiple authors these values can be overridden post by post with custom YAML Front Matter and a data file. For more information on how that works see below.
author:
  name   : "Your Name"
  avatar : "/assets/images/bio-photo.jpg"
  bio    : "My awesome biography constrained to a sentence or two goes here."
  email  : # optional
  uri    : "http://your-site.com"
Social media links are all optional, include the ones you want visible. In most cases you just need to add the username. If you’re unsure double check _includes/author-profile.html to see how the URL is constructed.
To add social media links not included with the theme or customize the author sidebar further, read the full layout documentation.
Reading Files
Nothing out of the ordinary here. include and exclude may be the only things you need to alter.
Conversion and Markdown Processing
Again nothing out of the ordinary here as the theme adheres to the defaults used by GitHub Pages. Kramdown for Markdown conversion, Rouge syntax highlighting, and incremental building disabled. Change them if you need to.
Front Matter Defaults
To save yourself time setting Front Matter Defaults for posts, pages, and collections is the way to go. Sure you can assign layouts and toggle settings like reading time, comments, and social sharing in each file, but that’s not ideal.
Using the default key in _config.yml you could set the layout and enable author profiles, reading time, comments, social sharing, and related posts for all posts — in one shot.
defaults:
  # _posts
  - scope:
      path: ""
      type: posts
    values:
      layout: single
      author_profile: true
      read_time: true
      comments: true
      share: true
      related: true
Pages Front Matter defaults can be scoped like this:
defaults:
  # _pages
  - scope:
      path: ""
      type: pages
    values:
      layout: single
And collections like this:
defaults:
  # _foo
  - scope:
      path: ""
      type: foo
    values:
      layout: single
And of course any default value can be overridden by settings in a post, page, or collection file. All you need to do is specify the settings in the YAML Front Matter. For more examples be sure to check out the demo site’s _config.yml.
Outputting
The default permalink style used by the theme is permalink: /:categories/:title/. If you have a post named 2016-01-01-my-post.md with categories: foo in the YAML Front Matter, Jekyll will generate _site/foo/my-post/index.html.
Note: If you plan on enabling breadcrumb links — including category names in permalinks is a big part of how those are created.
Paginate
If using pagination on the homepage you can change the amount of posts shown with:
paginate: 5
You’ll also need to include some Liquid and HTML to properly use the paginator, which you can find in the Layouts section under Home Page.
The paginator only works on files with name index.html. To use pagination in a subfolder — for example /recent/, create /recent/index.html and set the paginate_path in _config.yml to this:
paginate_path: /recent/page:num/
Please note: When using Jekyll’s default pagination plugin paginator.posts can only be called once. If you’re looking for something more powerful that can paginate category, tag, and collection pages I suggest jekyll-paginate-v2.
Timezone
This sets the timezone environment variable, which Ruby uses to handle time and date creation and manipulation. Any entry from the IANA Time Zone Database is valid. The default is the local time zone, as set by your operating system.
timezone: America/New_York
Plugins
When hosting with GitHub Pages a small set of gems have been whitelisted for use. The theme uses a few of them which can be found under gems. Additional settings and configurations are documented in the links below.
| Plugin | Description |
|---|---|
| jekyll-paginate | Pagination Generator for Jekyll. |
| jekyll-sitemap | Jekyll plugin to silently generate a sitemaps.org compliant sitemap for your Jekyll site. |
| jekyll-gist | Liquid tag for displaying GitHub Gists in Jekyll sites. |
| jekyll-feed | A Jekyll plugin to generate an Atom (RSS-like) feed of your Jekyll posts. |
| jemoji | GitHub-flavored emoji plugin for Jekyll. |
If you’re hosting elsewhere then you don’t really have to worry about what is whitelisted as you are free to include whatever Jekyll plugins you desire.
Archive Settings
The theme ships with support for taxonomy (category and tag) pages. GitHub Pages hosted sites need to use a Liquid only approach while those hosted elsewhere can use plugins like jekyll-archives to generate these pages automatically.
The default type is set to use Liquid.
Note: category_archive and tag_archive were previously named categories and tags. Names were changed to avoid possible conflicts with site.categories and site.tags.
category_archive:
  type: liquid
  path: /categories/
tag_archive:
  type: liquid
  path: /tags/
Which would create category and tag links in the breadcrumbs and page meta like: /categories/#foo and /tags/#foo.
Note: these are simply hash (fragment) links into the full taxonomy index pages. For them to resolve properly, the category and tag index pages need to exist at /categories/index.html (copy to _pages/category-archive.html) and /tags/index.html (copy to _pages/tag-archive.html).
If you have the luxury of using Jekyll Plugins, then jekyll-archives will create a better experience as discrete taxonomy pages would be generated, and their corresponding links would be “real” (not just hash/fragment links into a larger index). However, the plugin will not generate the taxonomy index pages (category-archive.html and _pages/tag-archive.html) so you’d still need to manually create them if you’d like to have them (see note above).
First, you’ll need to make sure that the jekyll-archives plugin is installed. Either run gem install jekyll-archives or add the following to your Gemfile:
group :jekyll_plugins do
  gem "jekyll-archives"
end
Then run bundle install.
Now that the plugin is installed, change type to jekyll-archives and apply the following configurations:
category_archive:
  type: jekyll-archives
  path: /categories/
tag_archive:
  type: jekyll-archives
  path: /tags/
jekyll-archives:
  enabled:
    - categories
    - tags
  layouts:
    category: archive-taxonomy
    tag: archive-taxonomy
  permalinks:
    category: /categories/:name/
    tag: /tags/:name/
Note: The archive-taxonomy layout used by jekyll-archives is provided with the theme and can be found in the _layouts folder.
HTML Compression
If you care at all about performance (and really who doesn’t) compressing the HTML files generated by Jekyll is a good thing to do.
If you’re hosting with GitHub Pages there aren’t many options afforded to you for optimizing the HTML Jekyll generates. Thankfully there is some Liquid wizardry you can use to strip whitespace and comments to reduce file size.
There’s a variety of configurations and caveats to using the compress layout, so be sure to read through the documentation if you decide to make change the defaults set in the theme’s _config.yml.
compress_html:
  clippings: all
  ignore:
    envs: development  # disable compression in dev environment
Caution: Inline JavaScript comments can cause problems with compress.html, so be sure to /* comment this way */ and avoid // these sorts of comments.
Note: CDN services such as CloudFlare provide optional automatic minification for HTML, CSS, and JavaScript. If you are serving your site via such a service and have minification enabled, this configuration might be redundant.